German

Wing wall mount
All pieces are now clean and in its place - time to get room into the workshop for doing actual work. While all the small pieces are stored in boxes in the workshops attic, this was not an option for the wings and fuselage - they have to stay in the workshop.
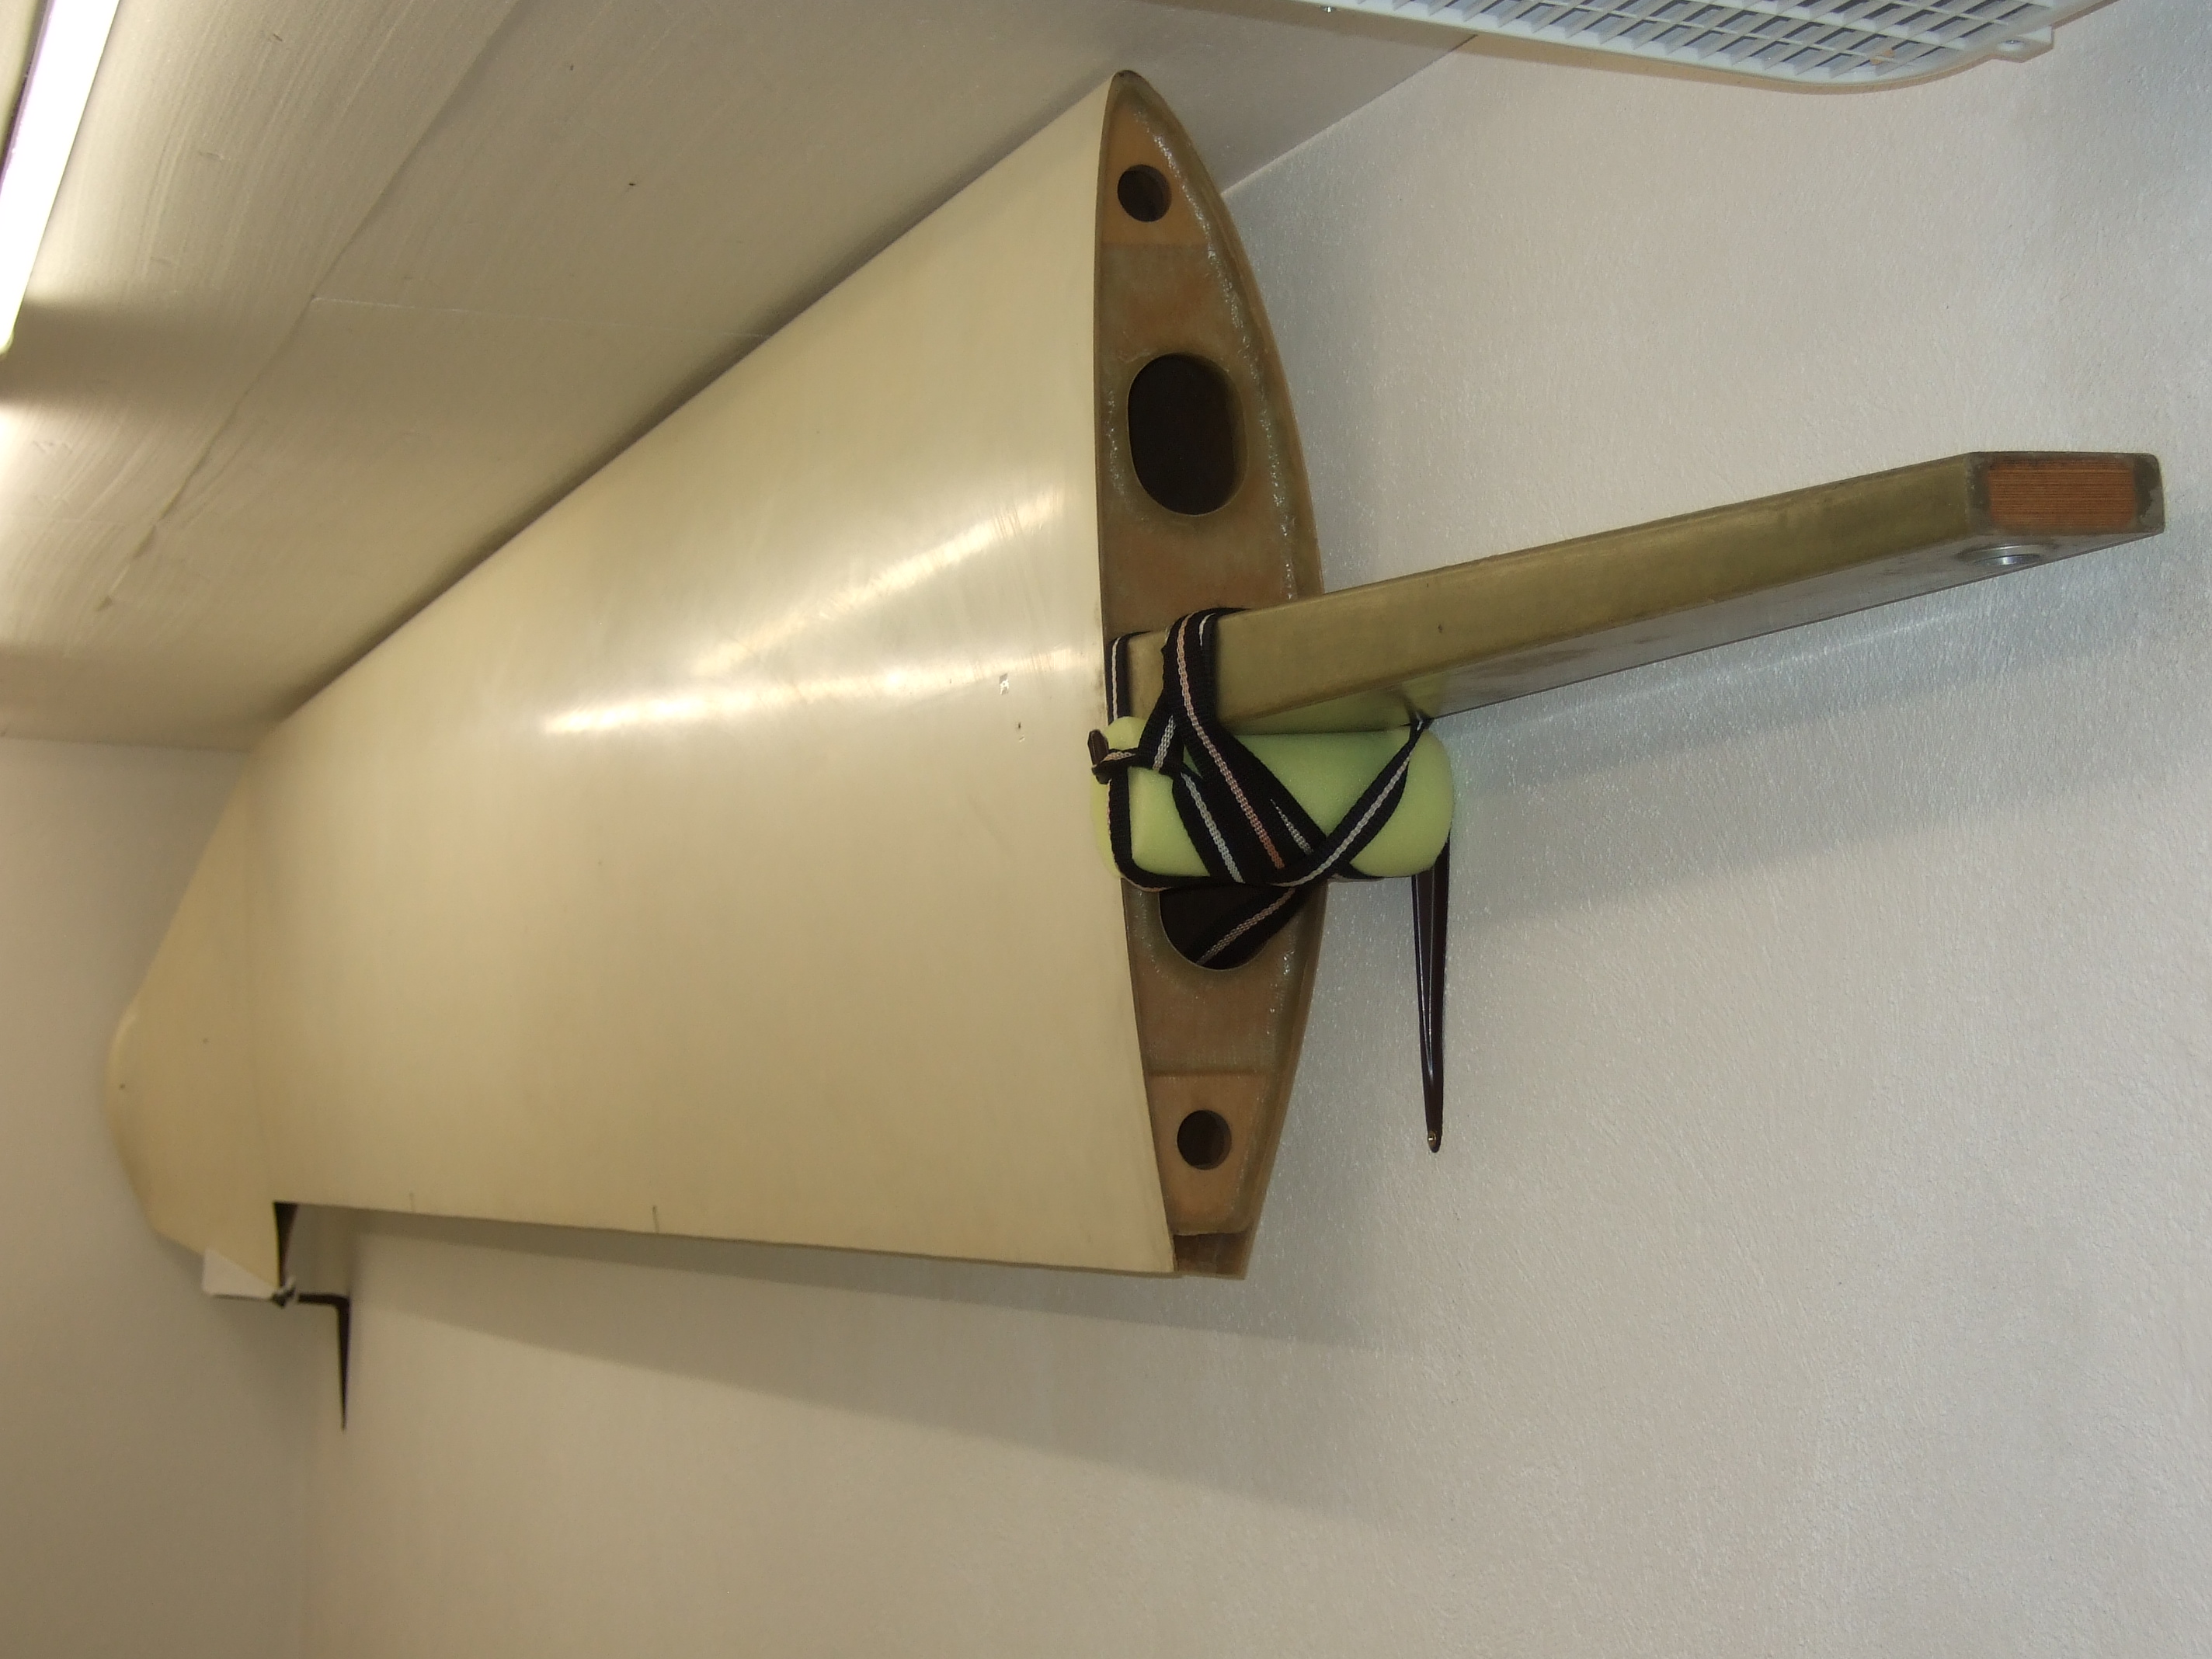
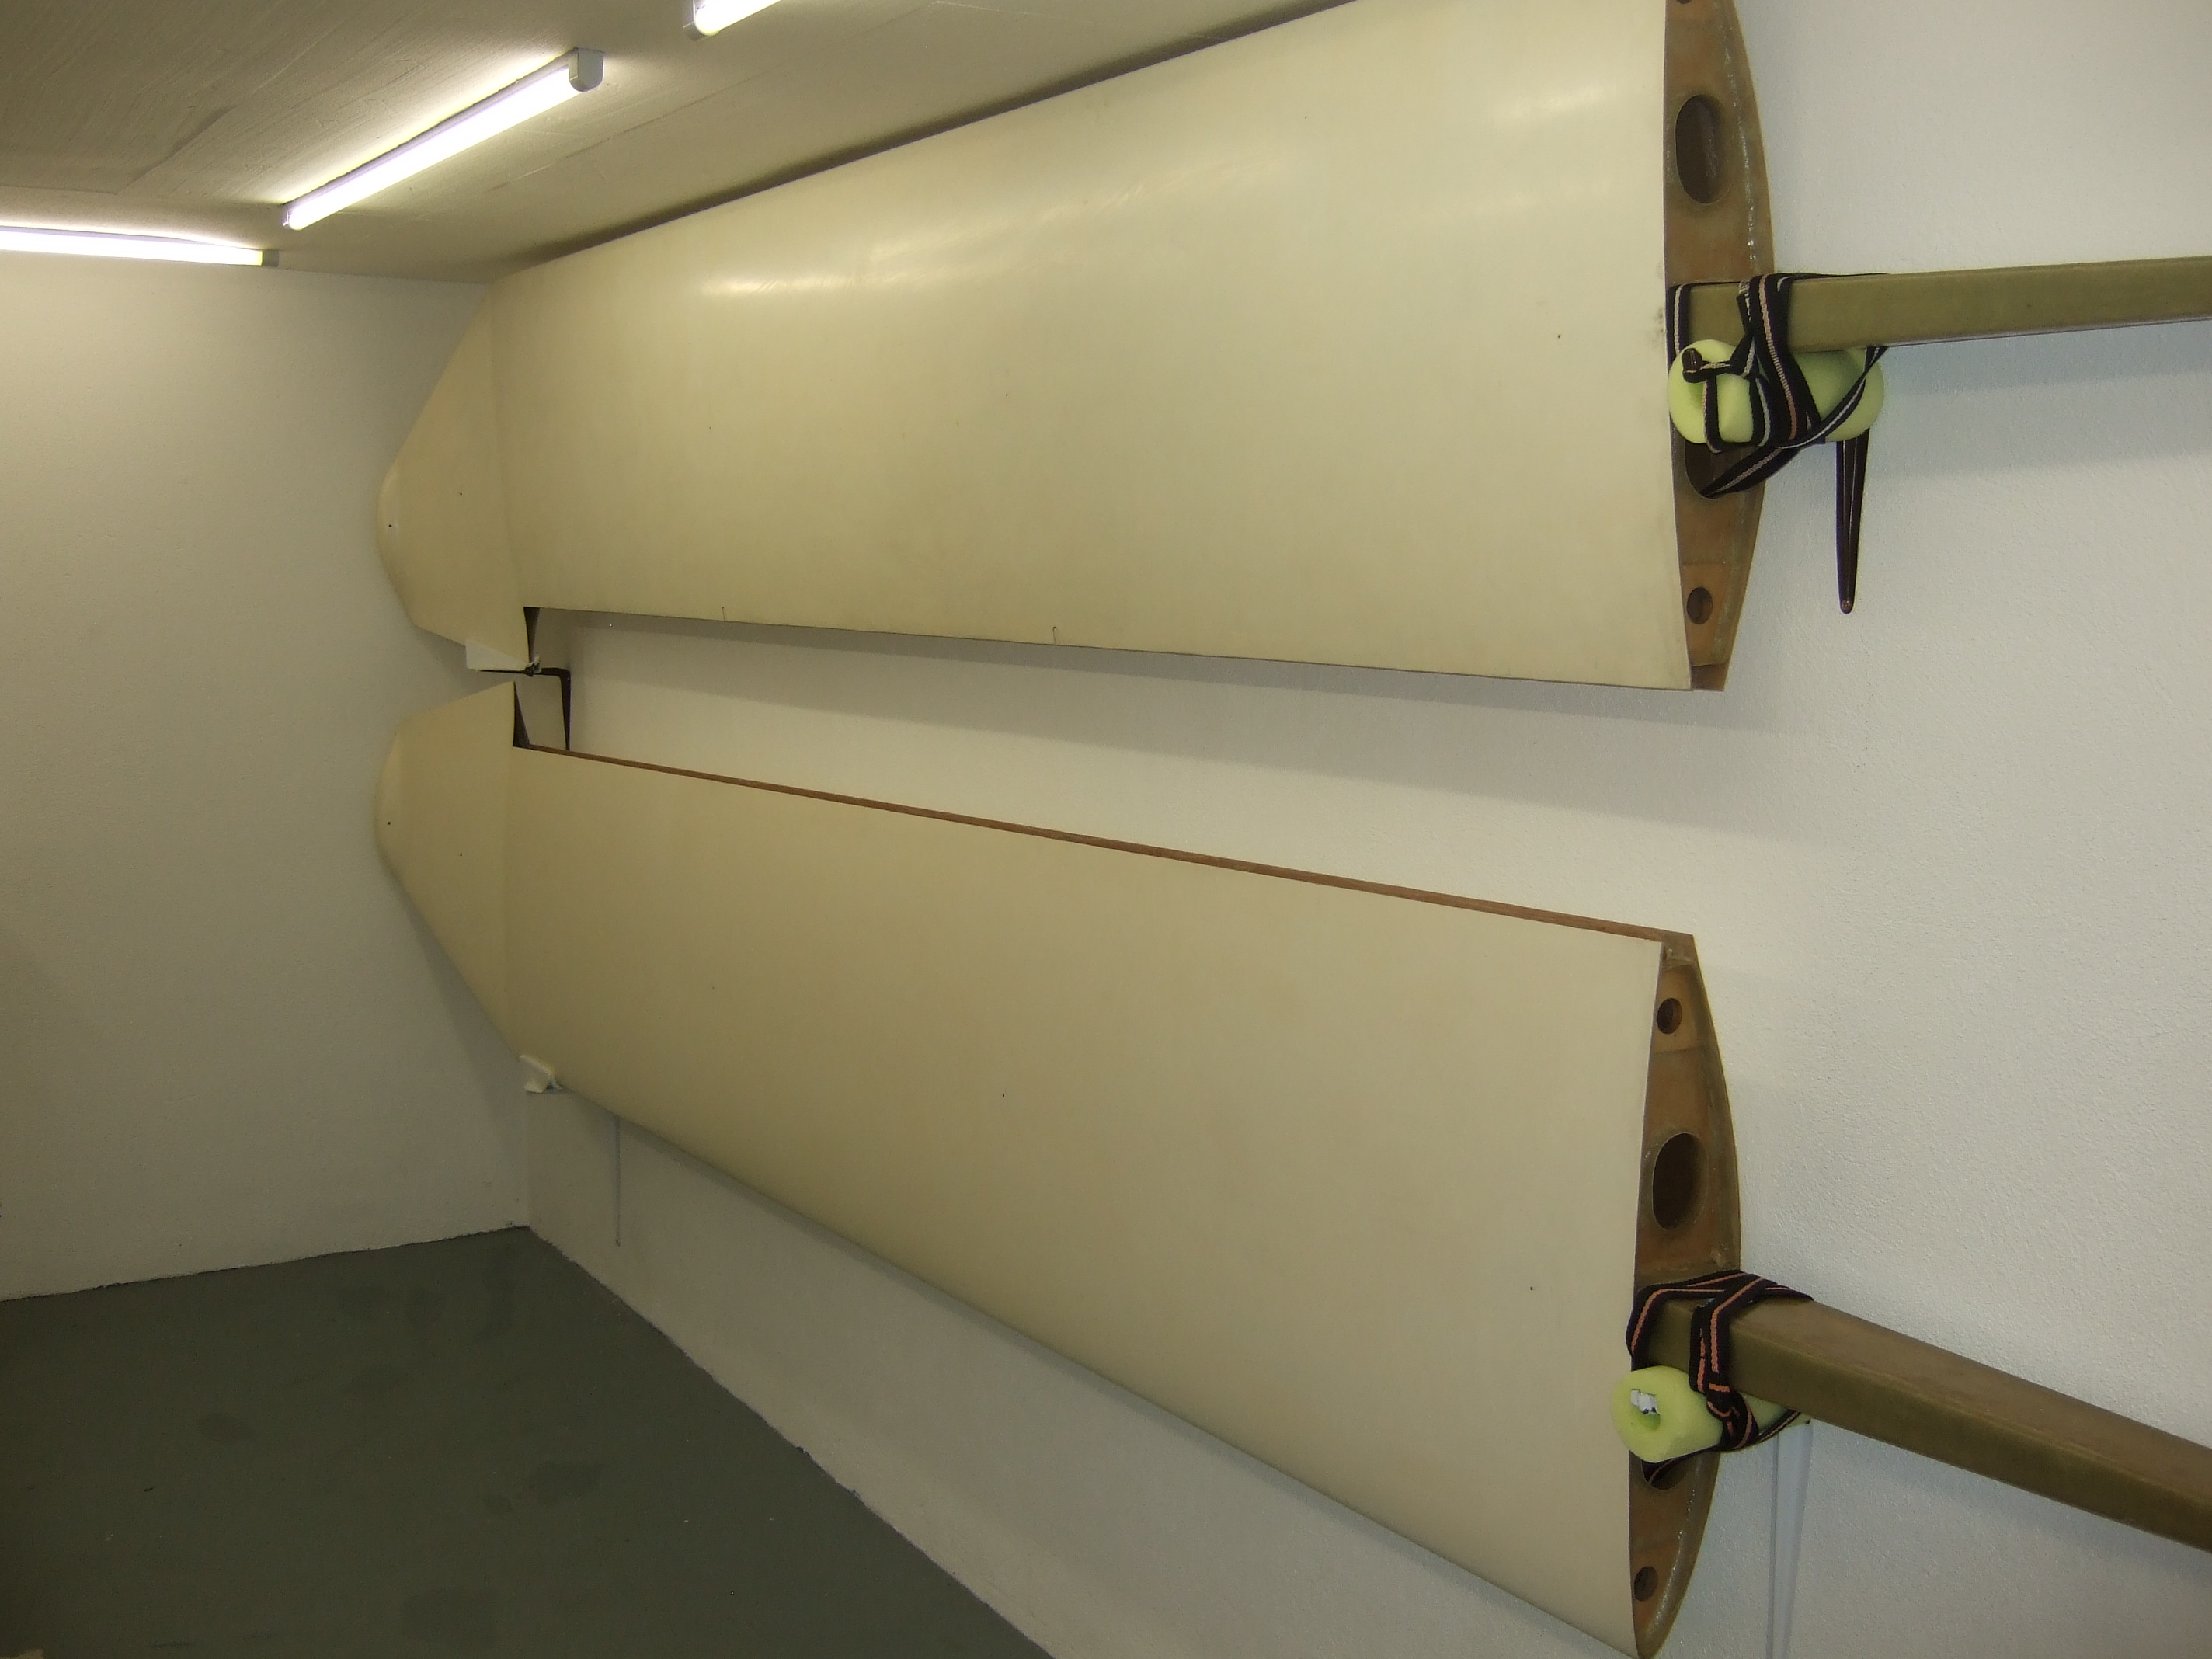
Because of the characteristic outer wing shape the right wing has to be nose up. While the root mount can be a simple angle bracket, the mount for the end of the wing has to be somewhat more complex.
A paper mockup helps to find the right shape.
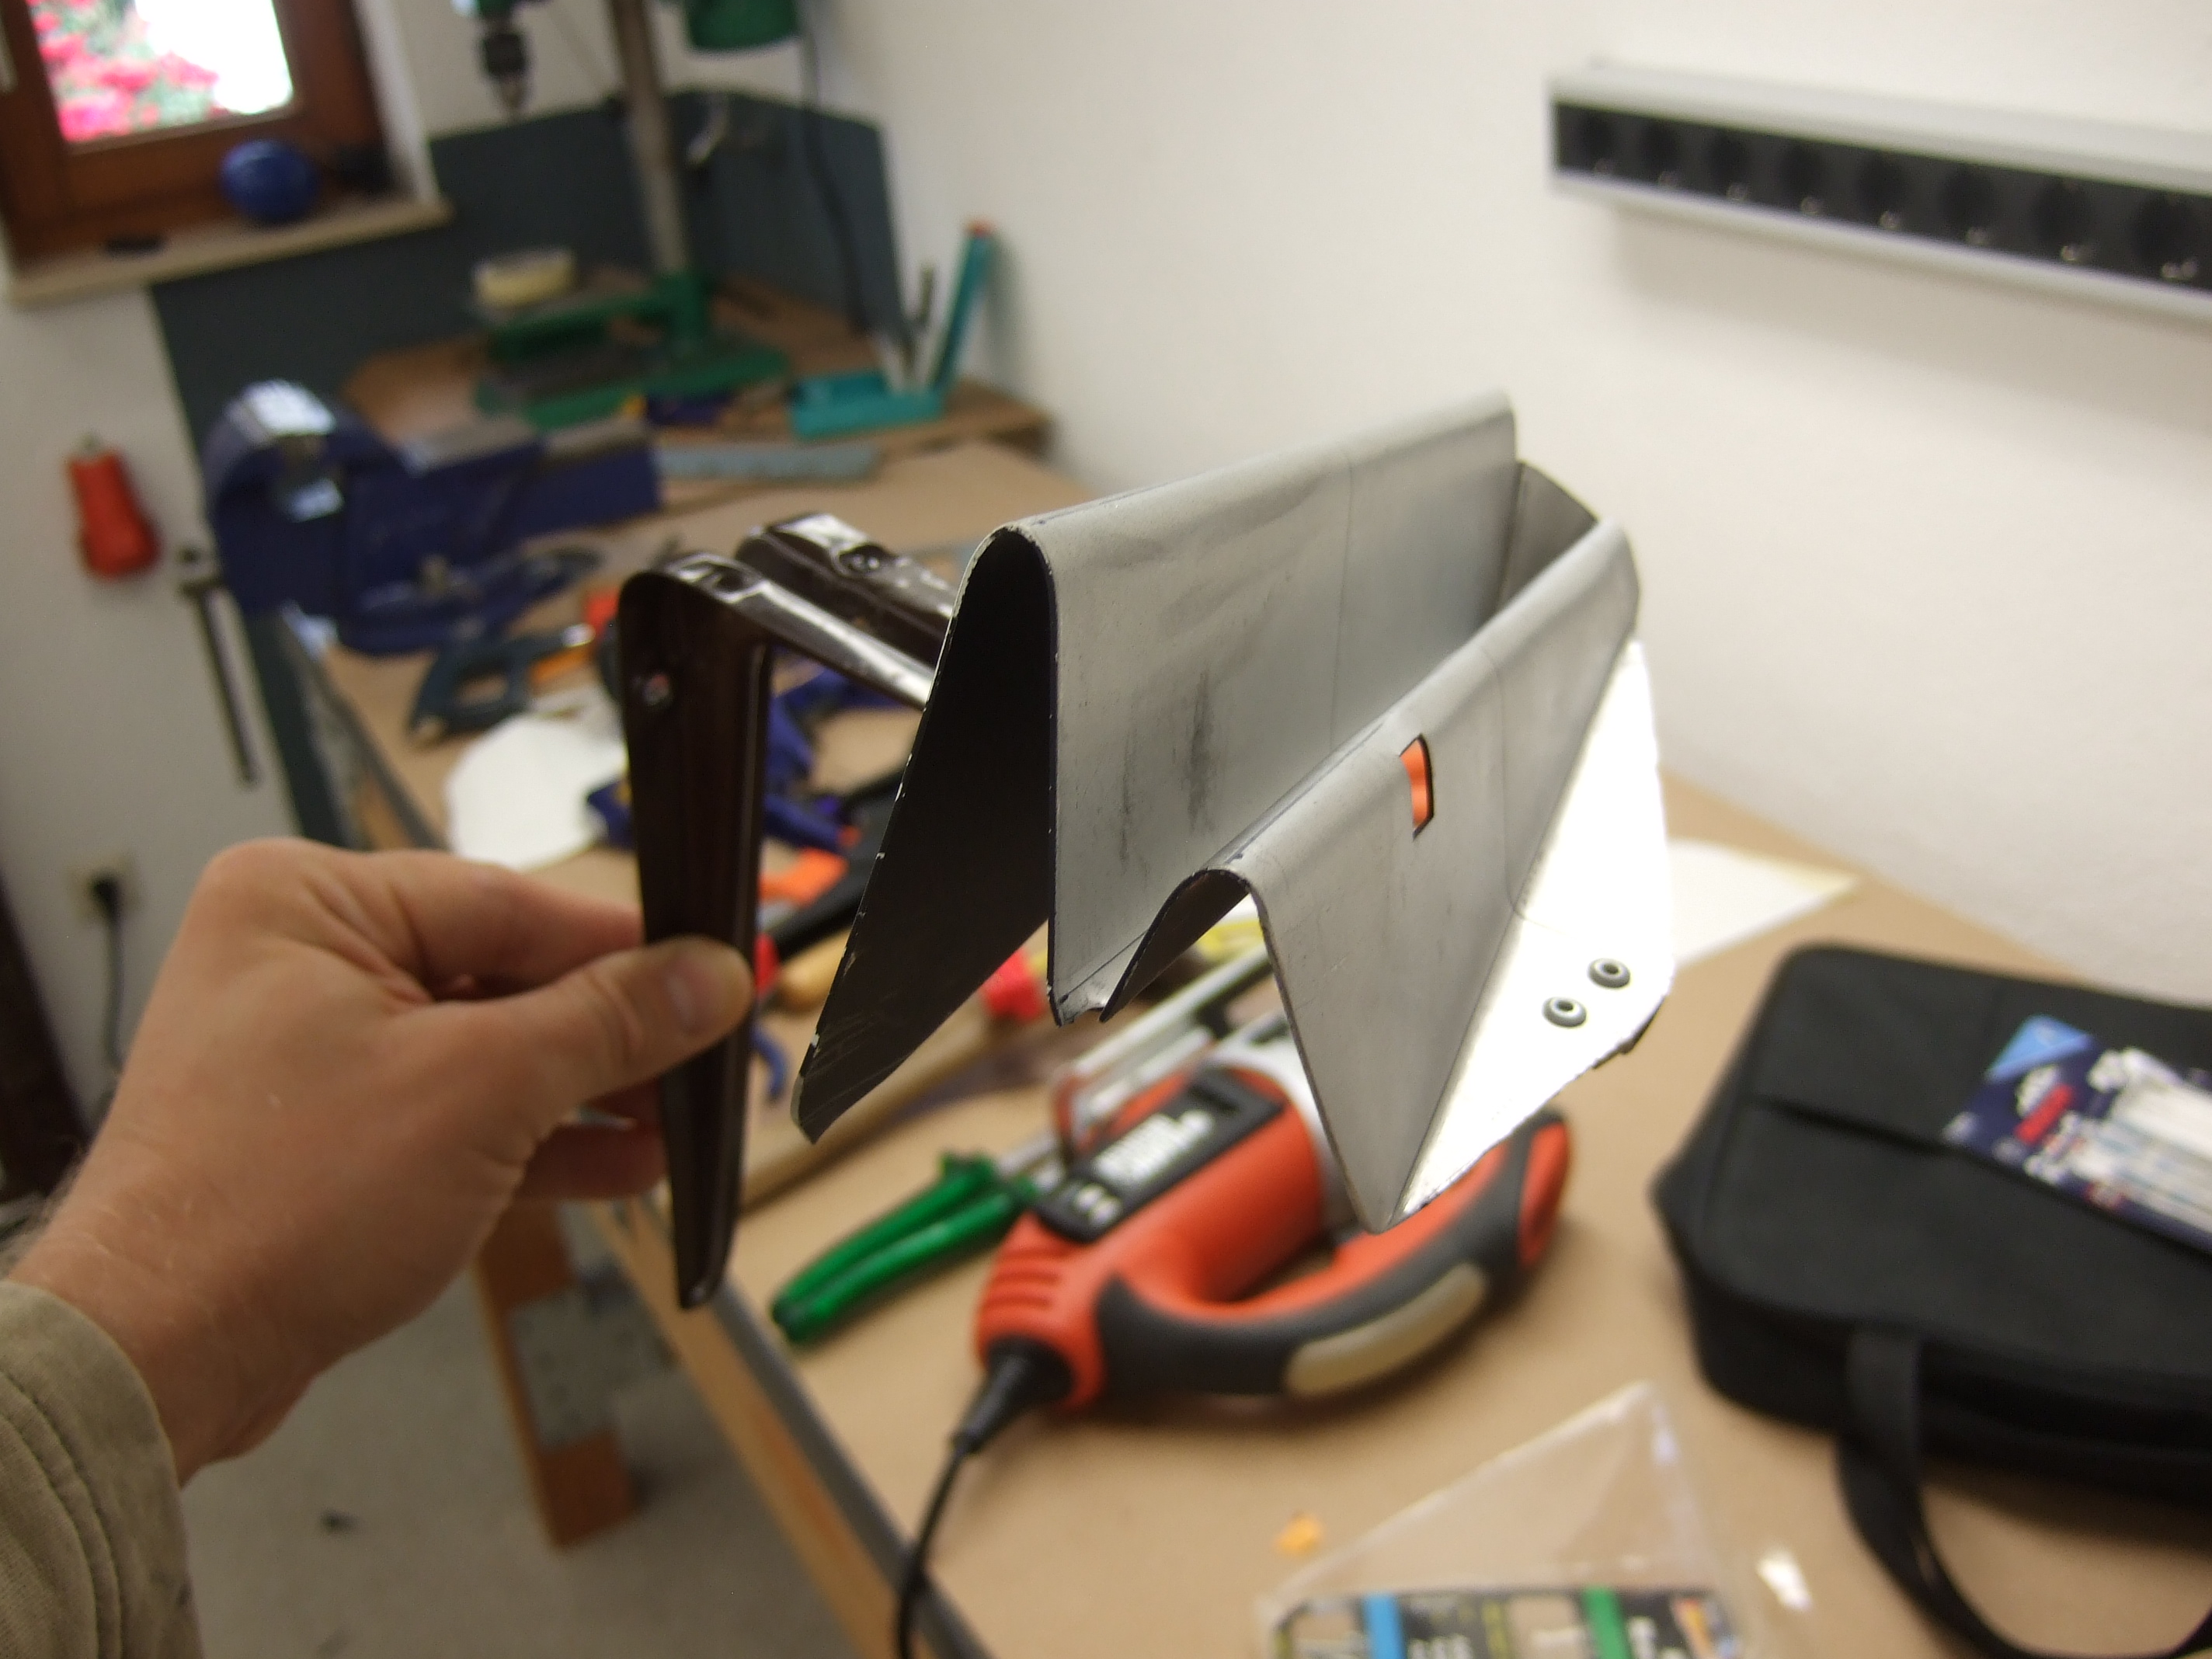
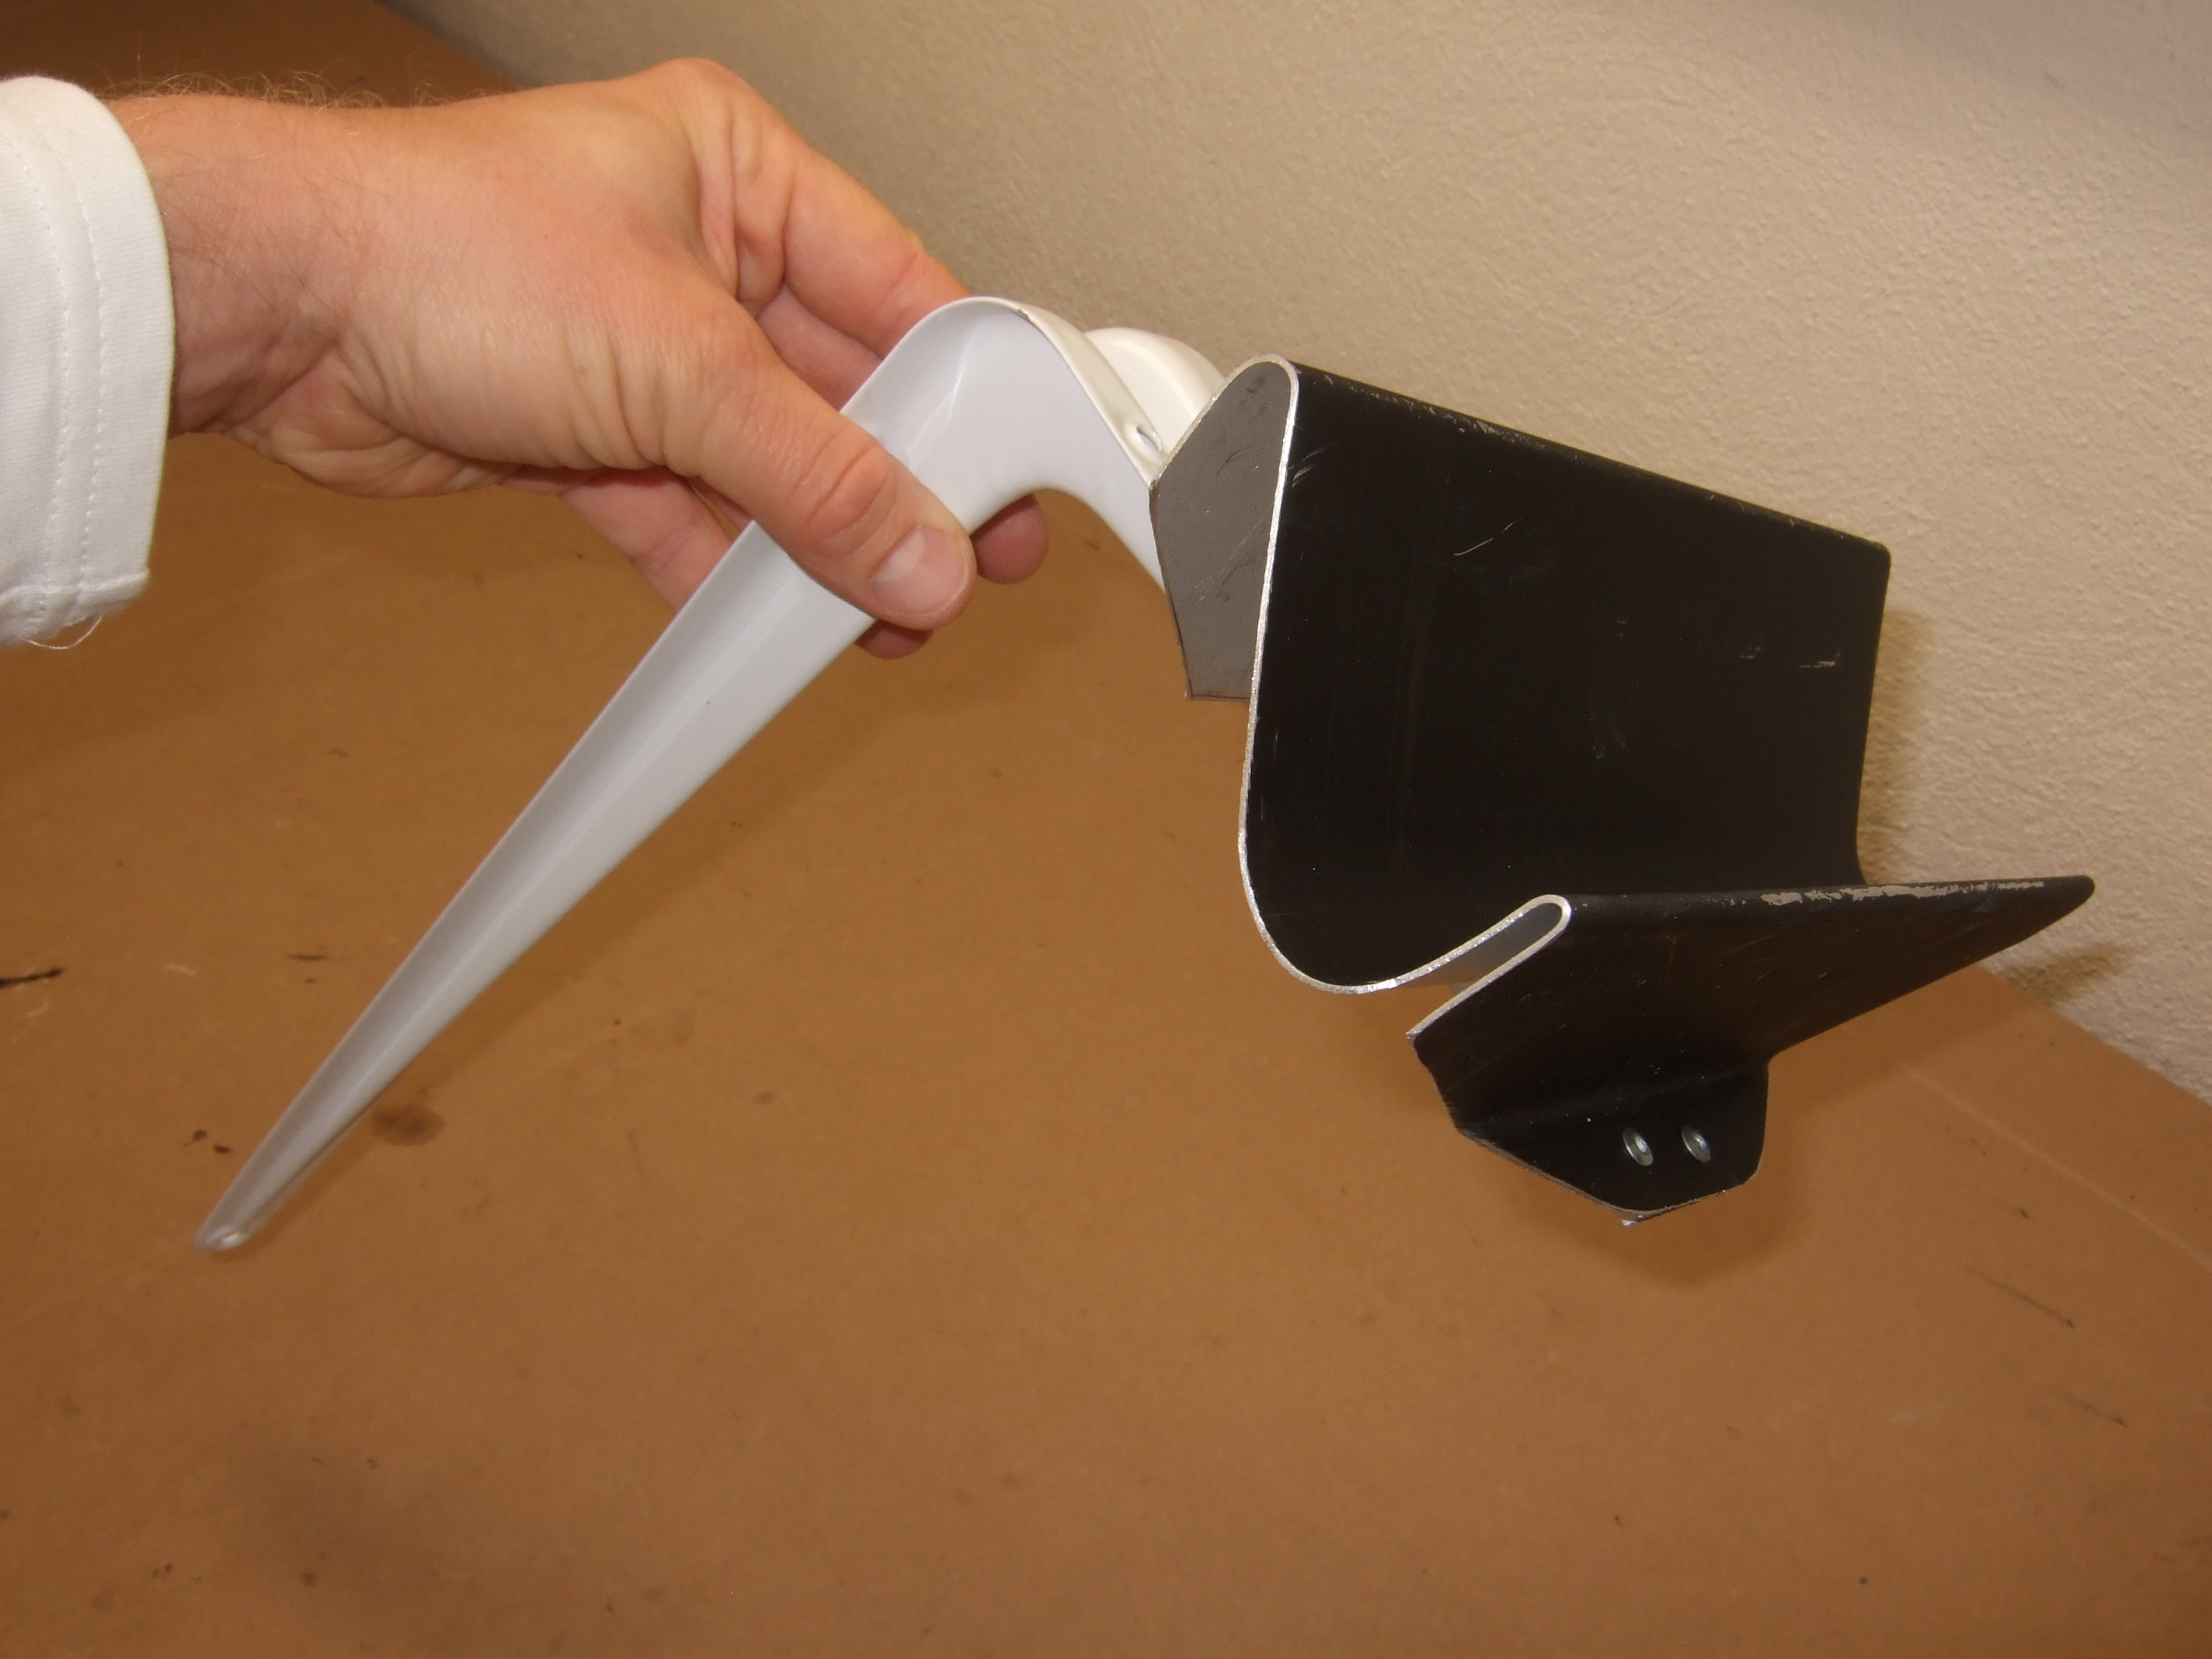
After the mockup the real part can be made and bolted to the angular bracket.
To prevent scratches felt was used to cover the metal sheet.
Now the part can be nailed to the wall.
After the right wing was at the wall, another mount had to be made for the left wing:
The left mount is easier to made since the shape is less complex.
Underneath the felt I placed a rubber foam core.
Business as usual: gluing the felt.
The angular bracket is bolted to the wall with 3 100x6mm anchor bolts.
Now that the wings are at the wall there is room to do actual work in the workshop. Even after this was only something "small" to do it took a whole day. But it was important to me to have proper wall mounts since the project might take up to 5 years.
Impressum, Disclaimer & Datenschutz
 wall mount
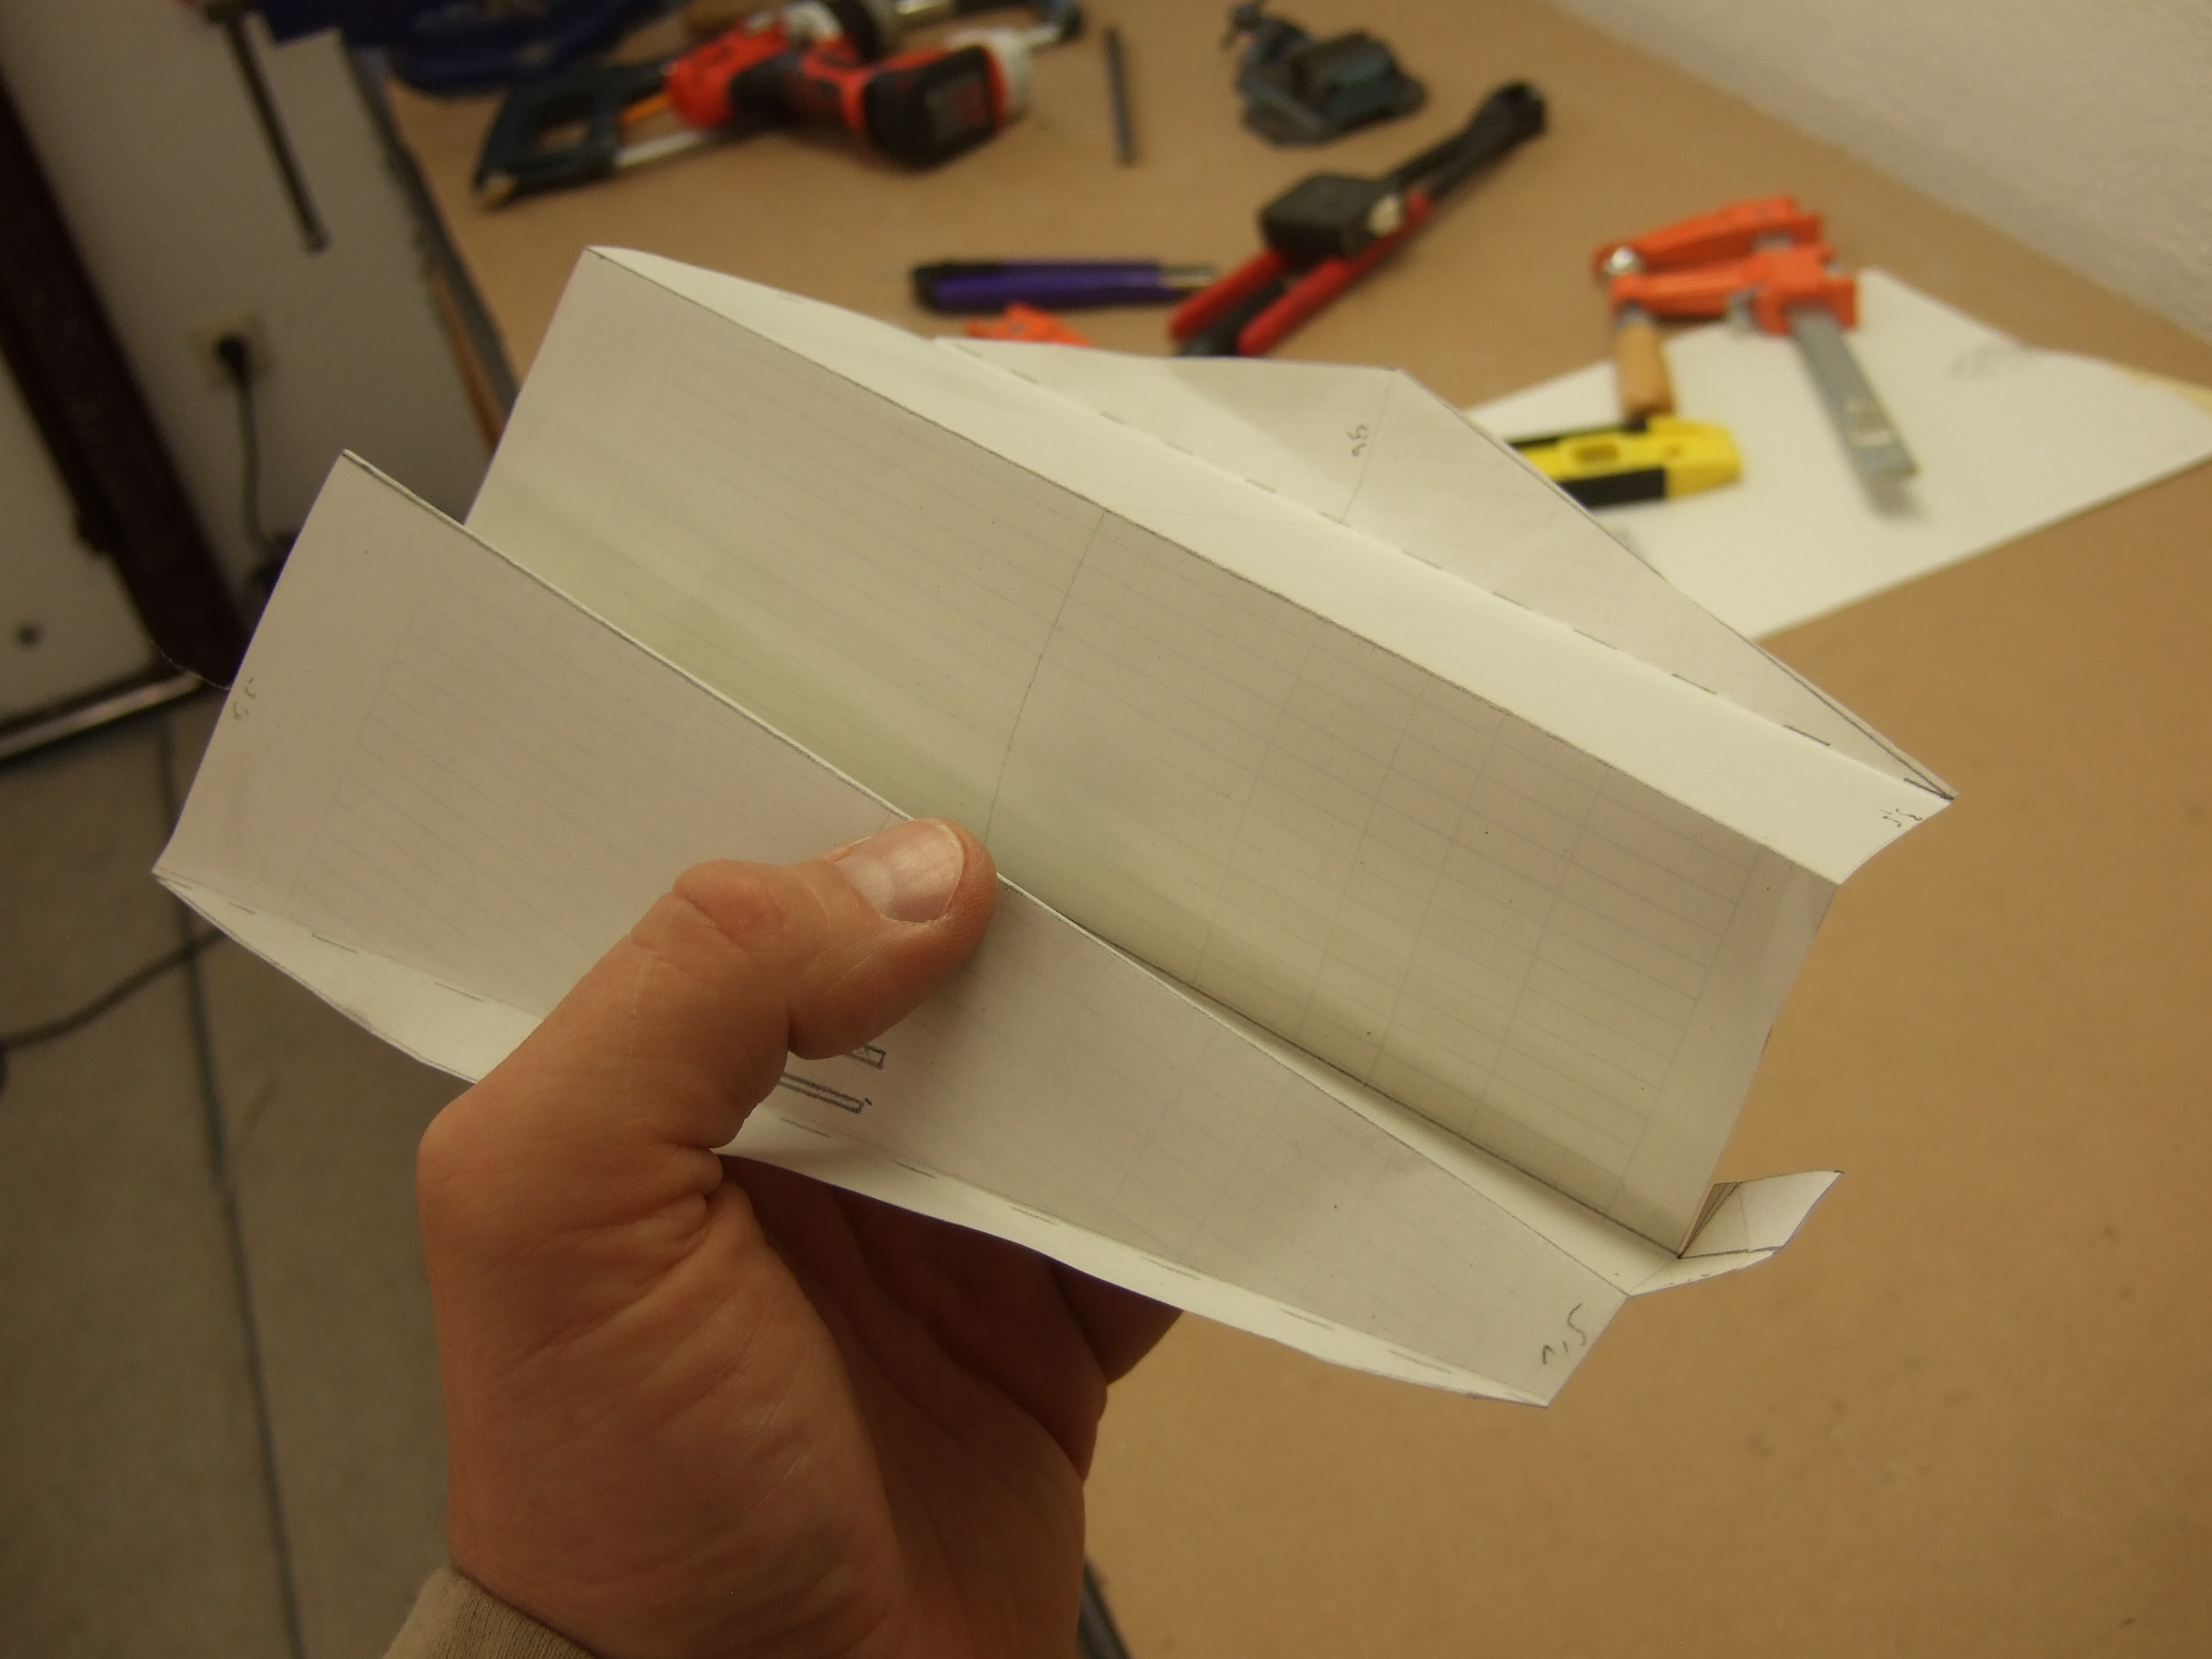
 part
part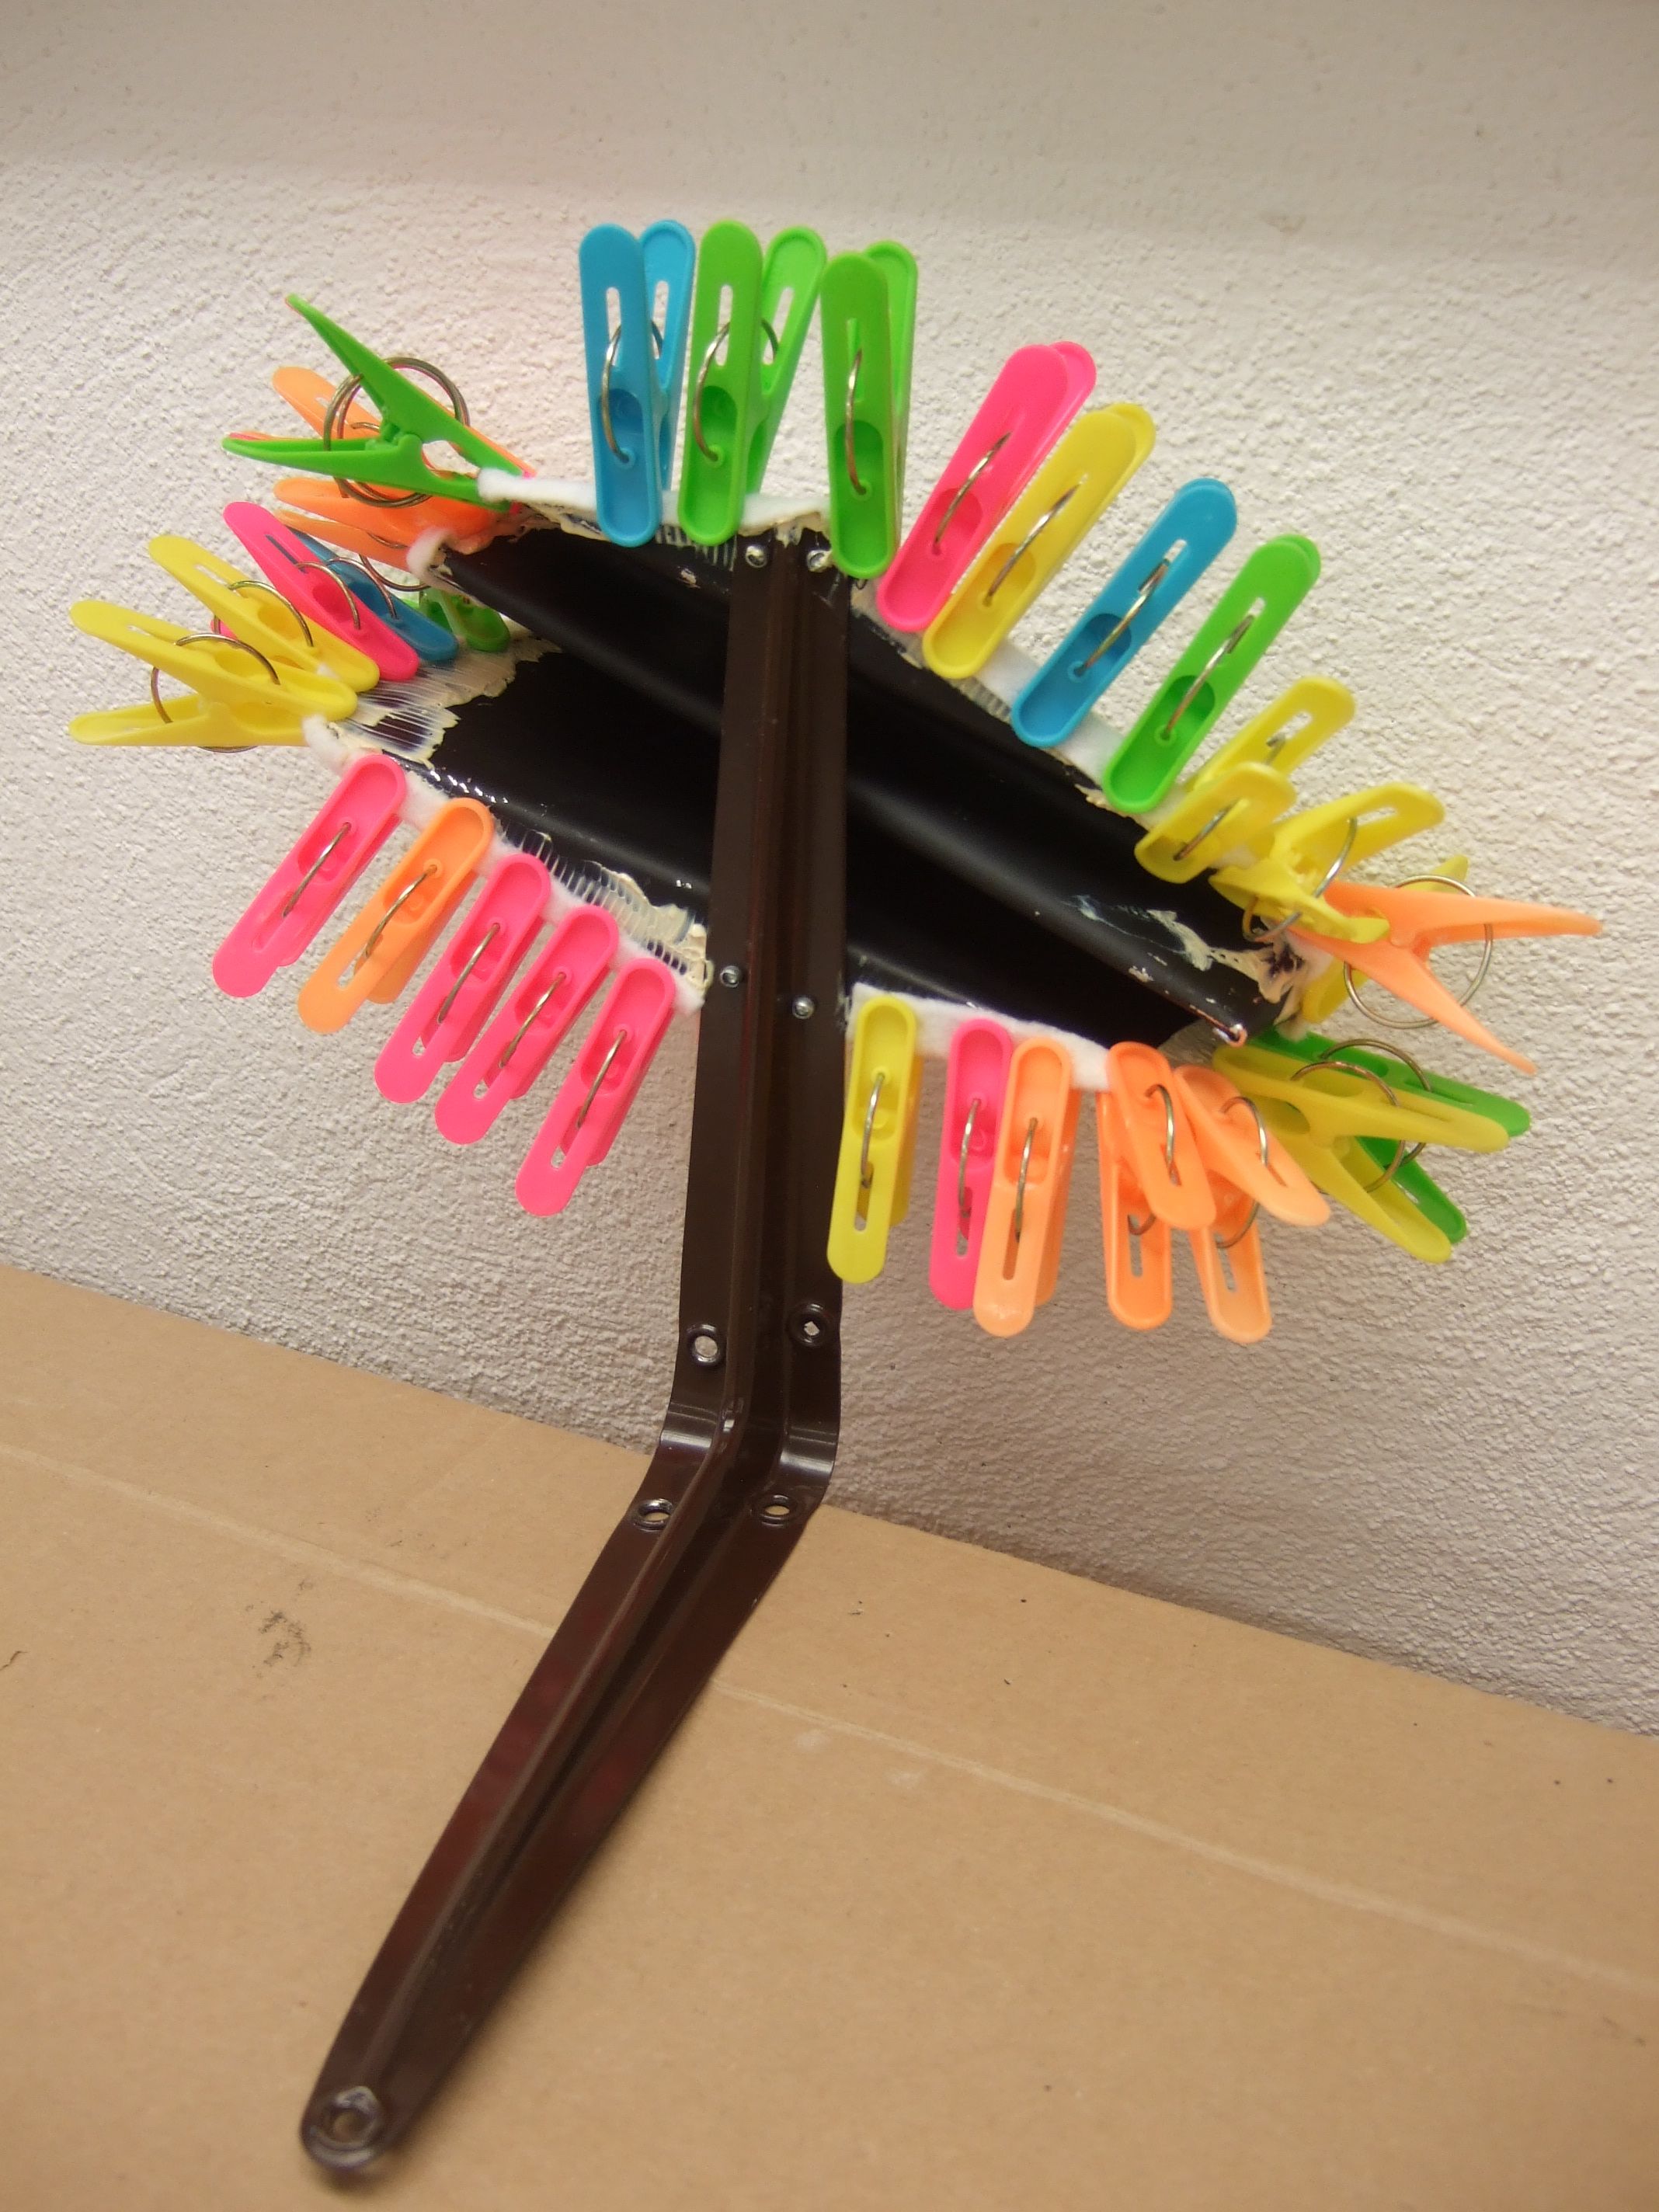
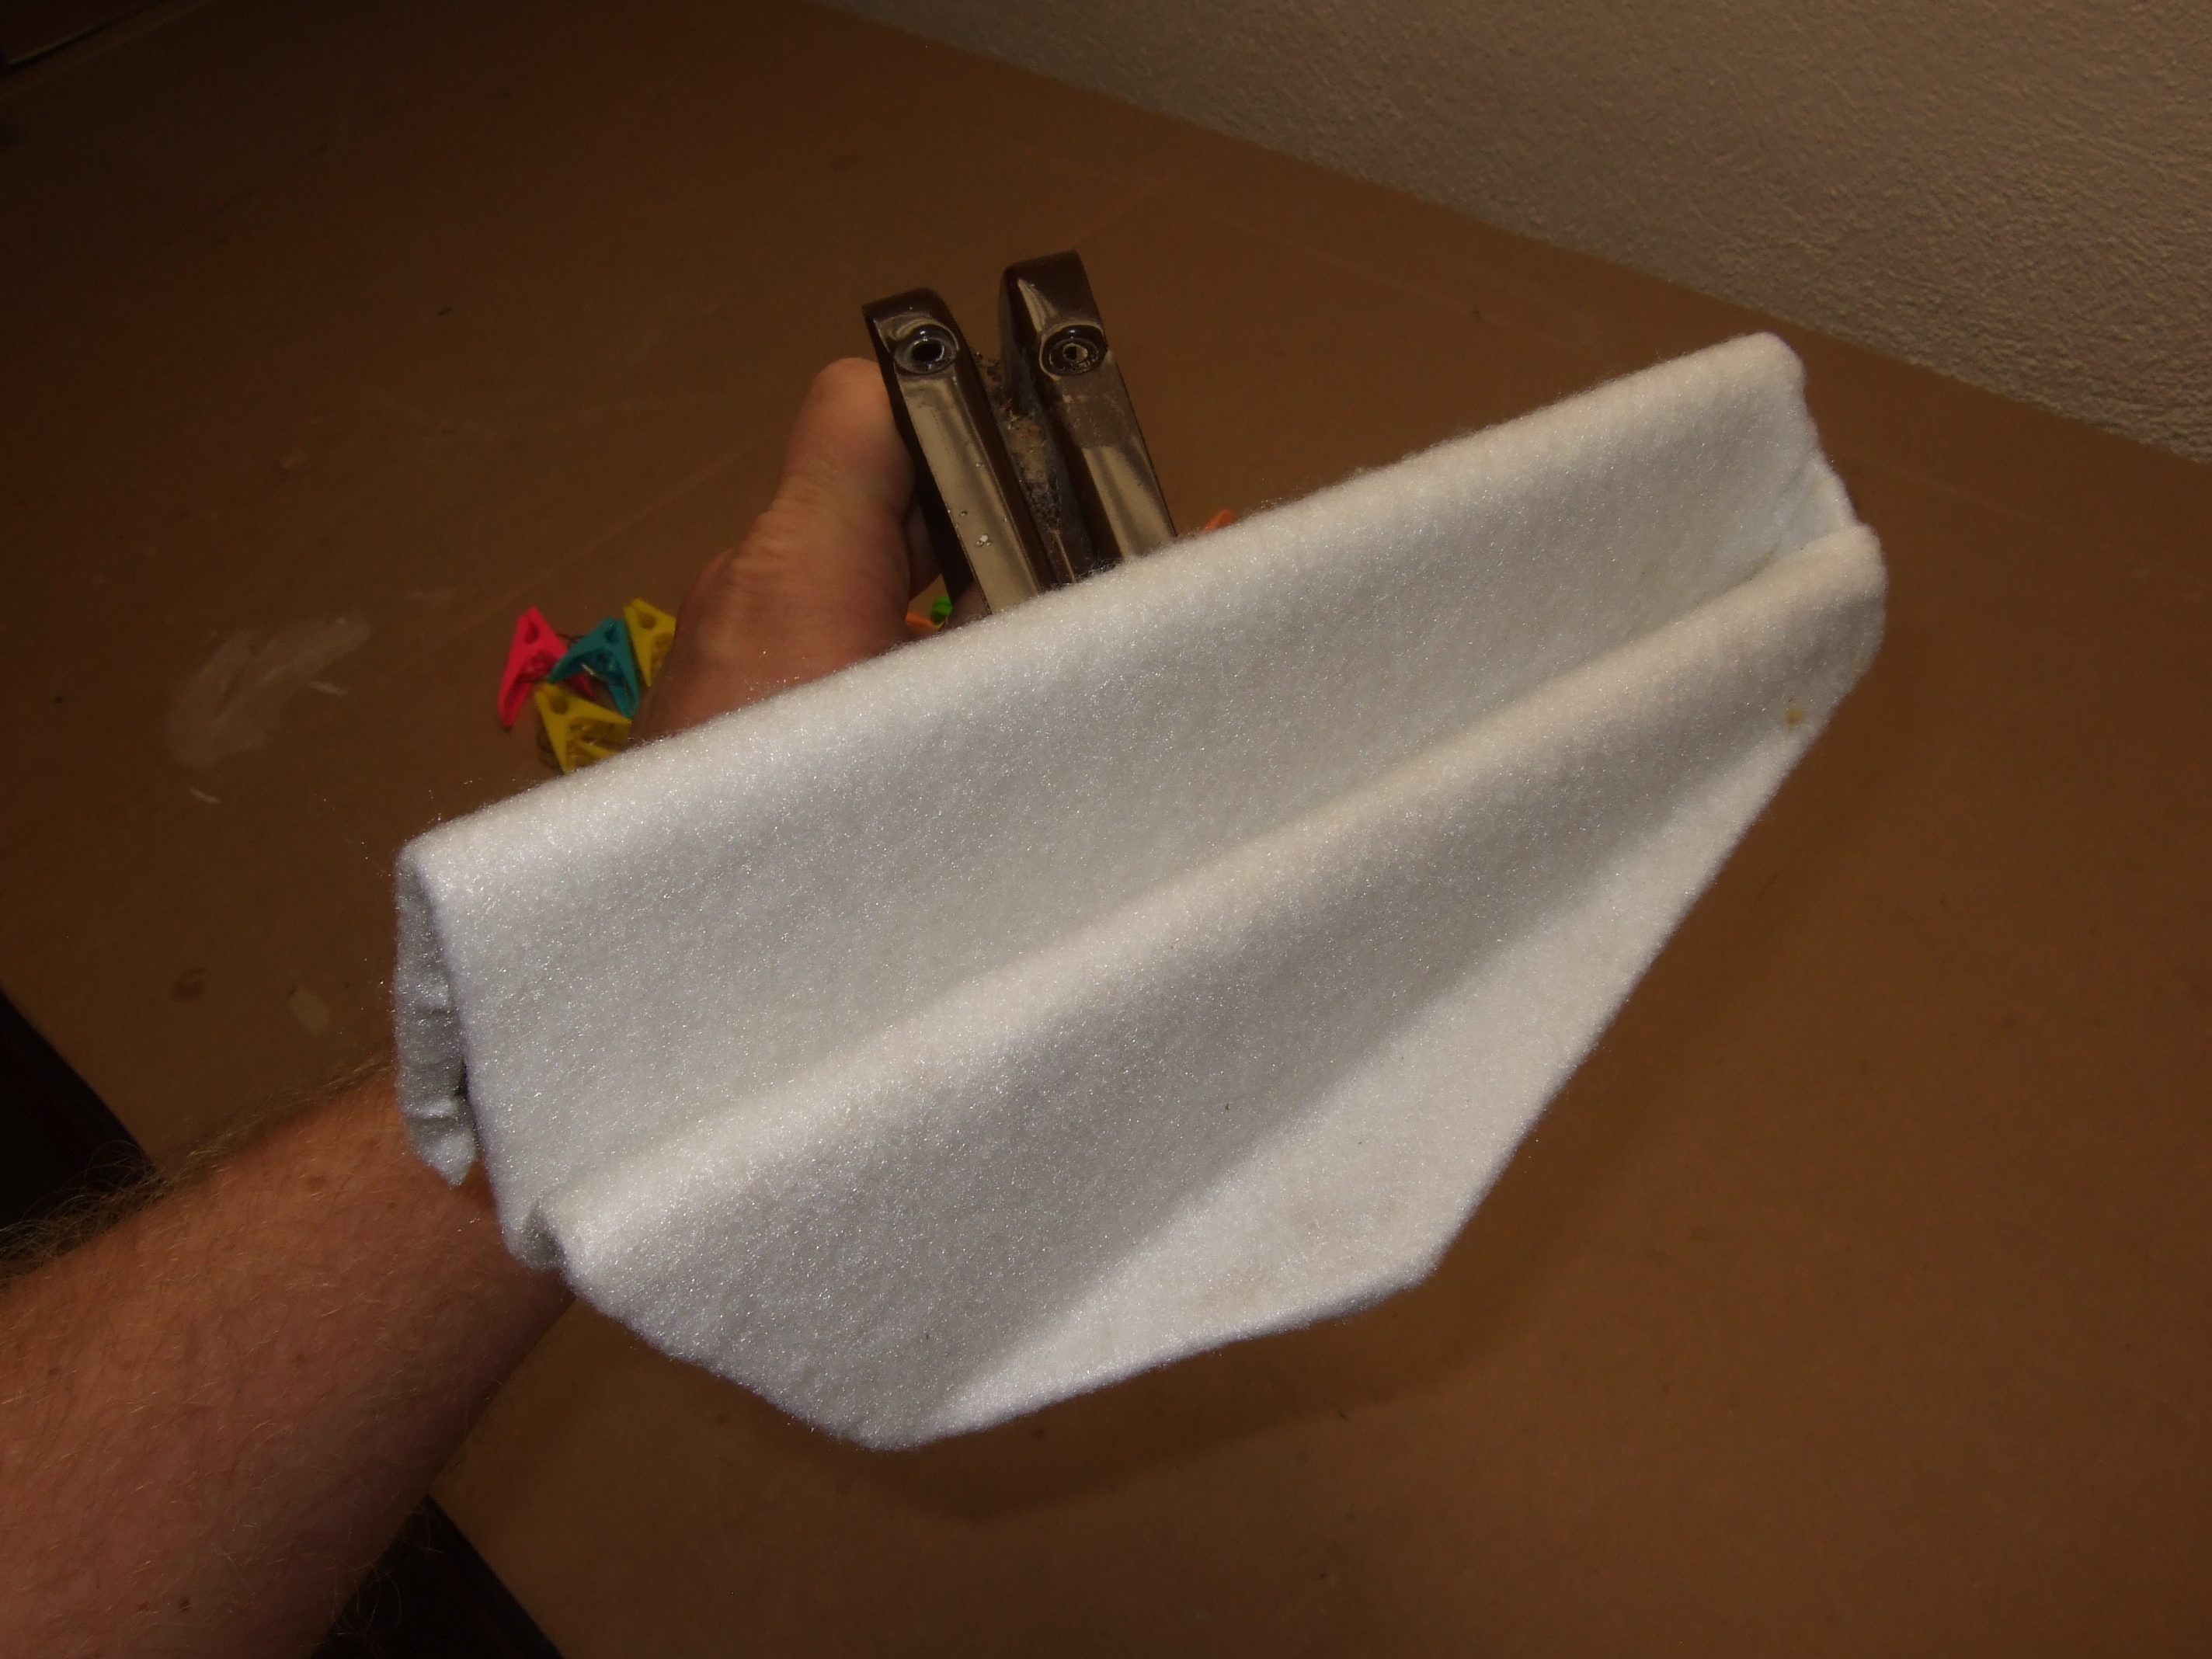 felt covered
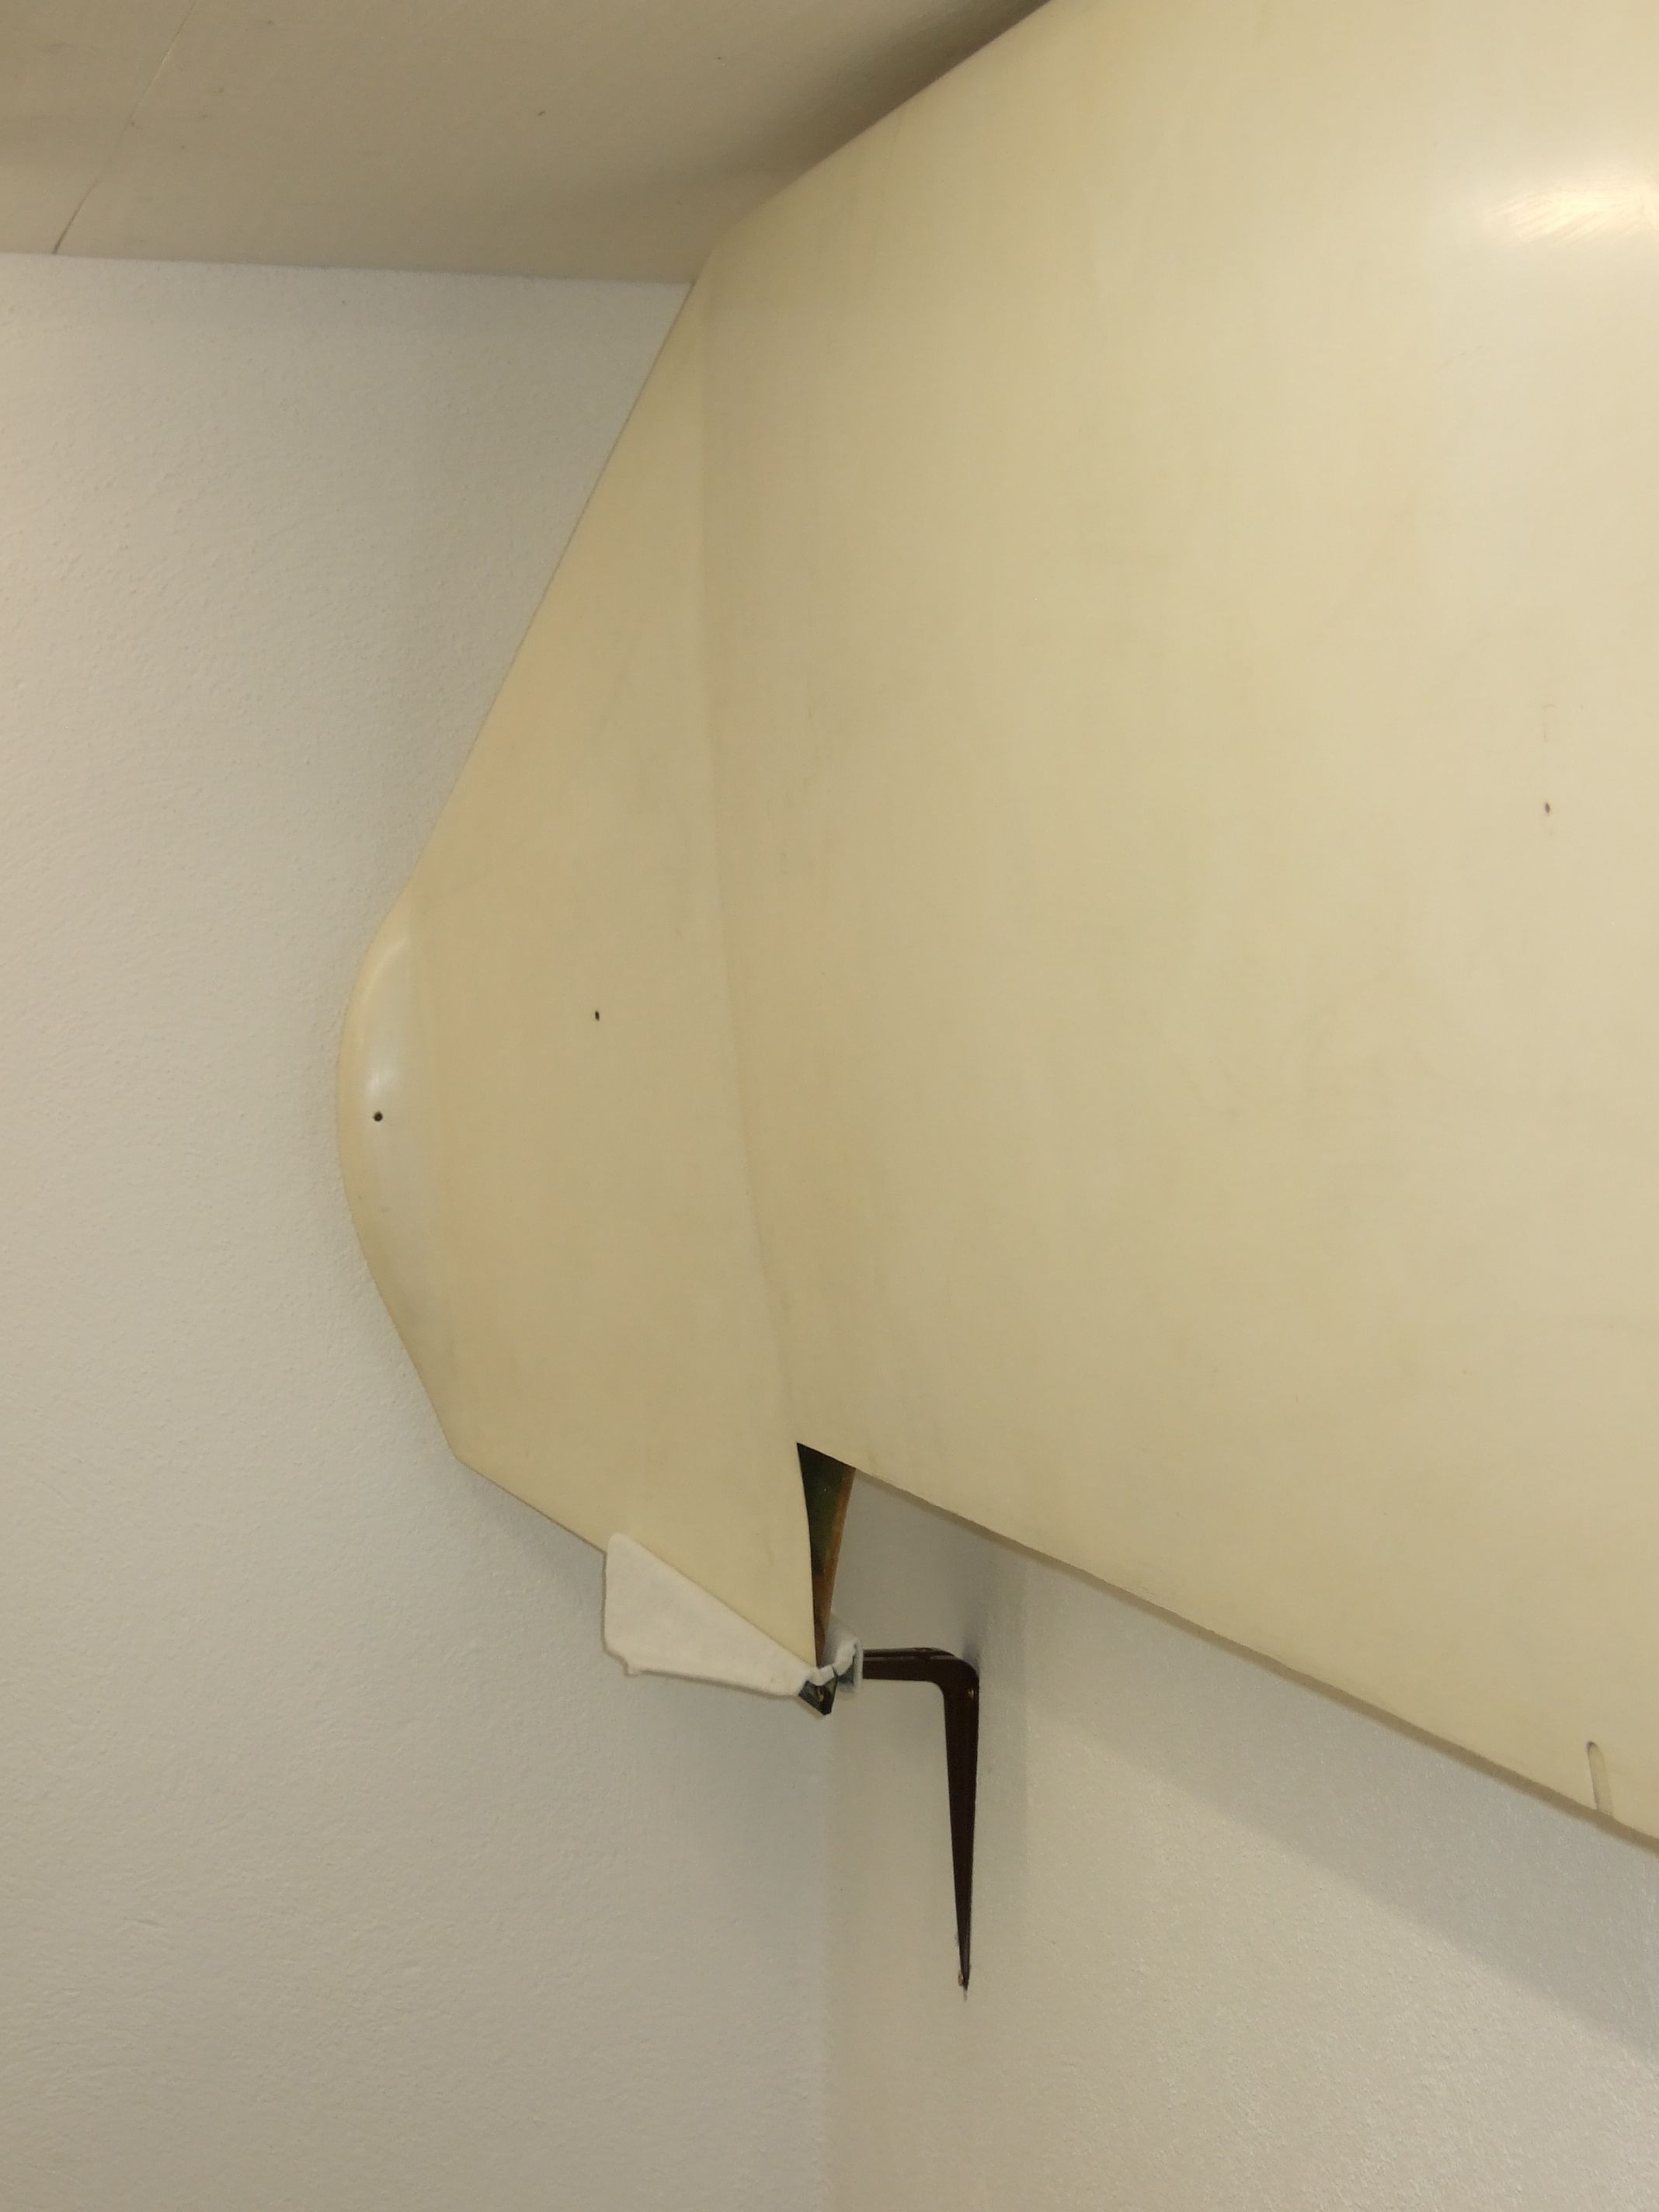
 left wing mount
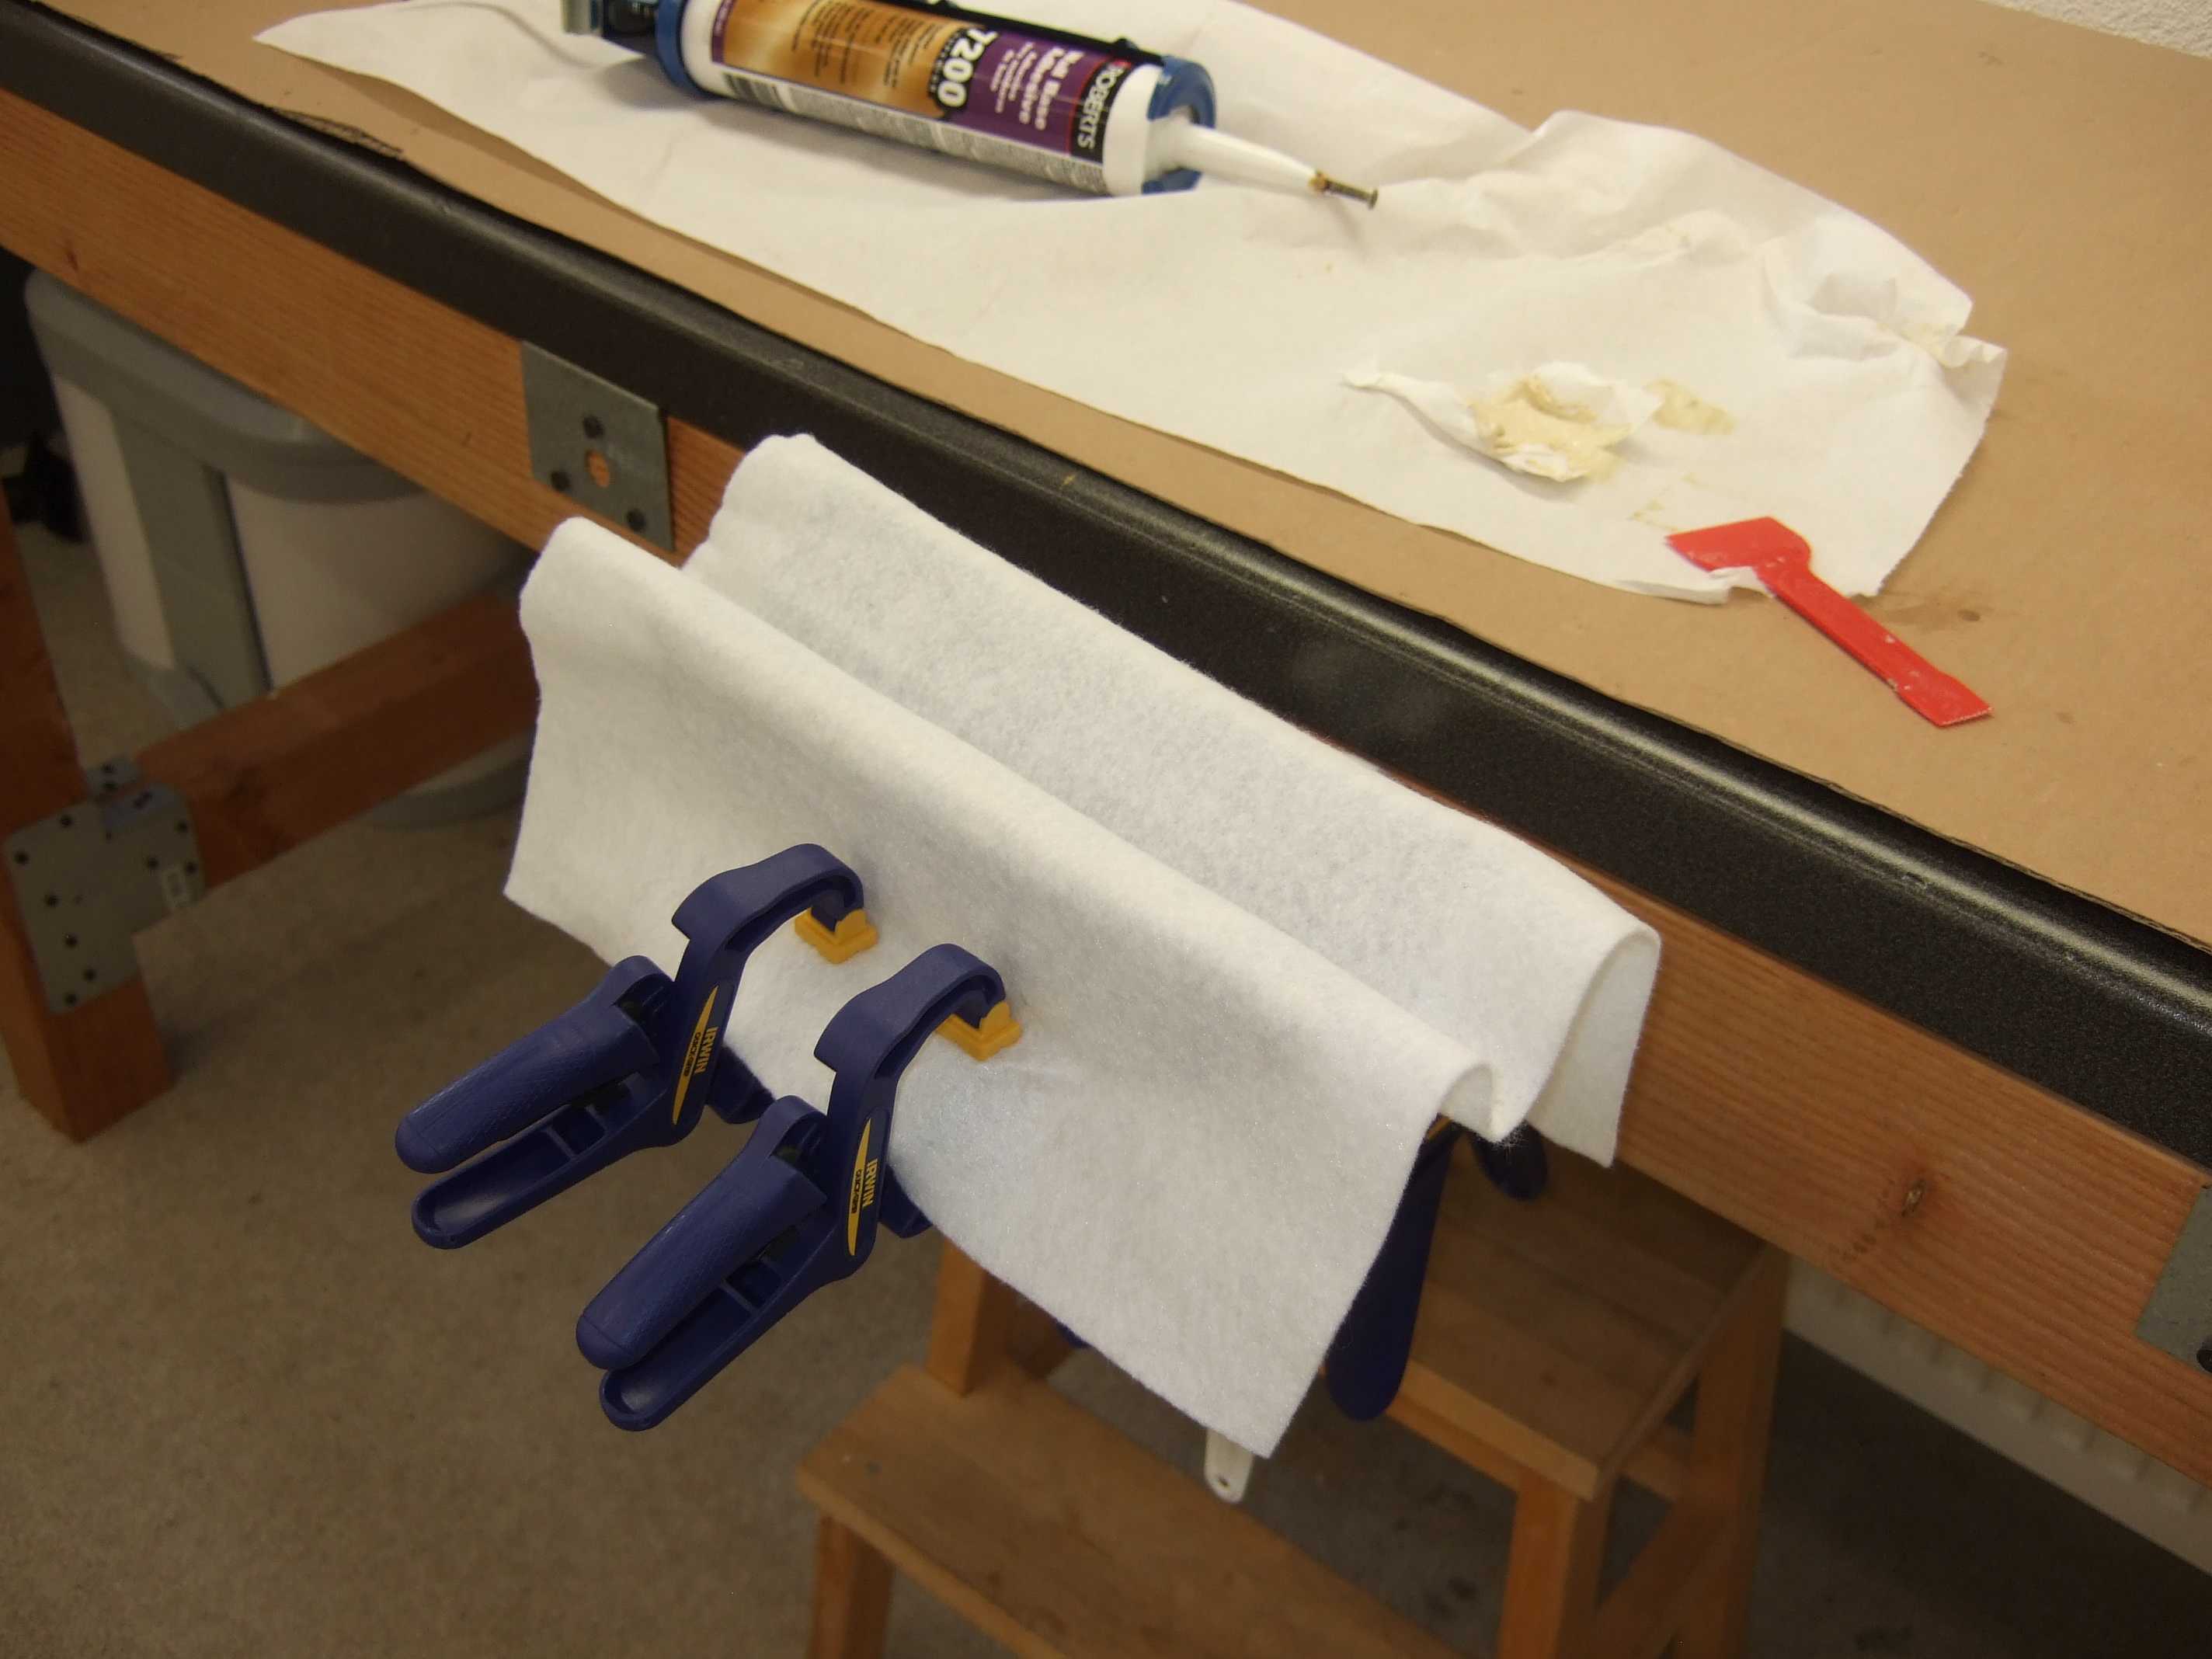
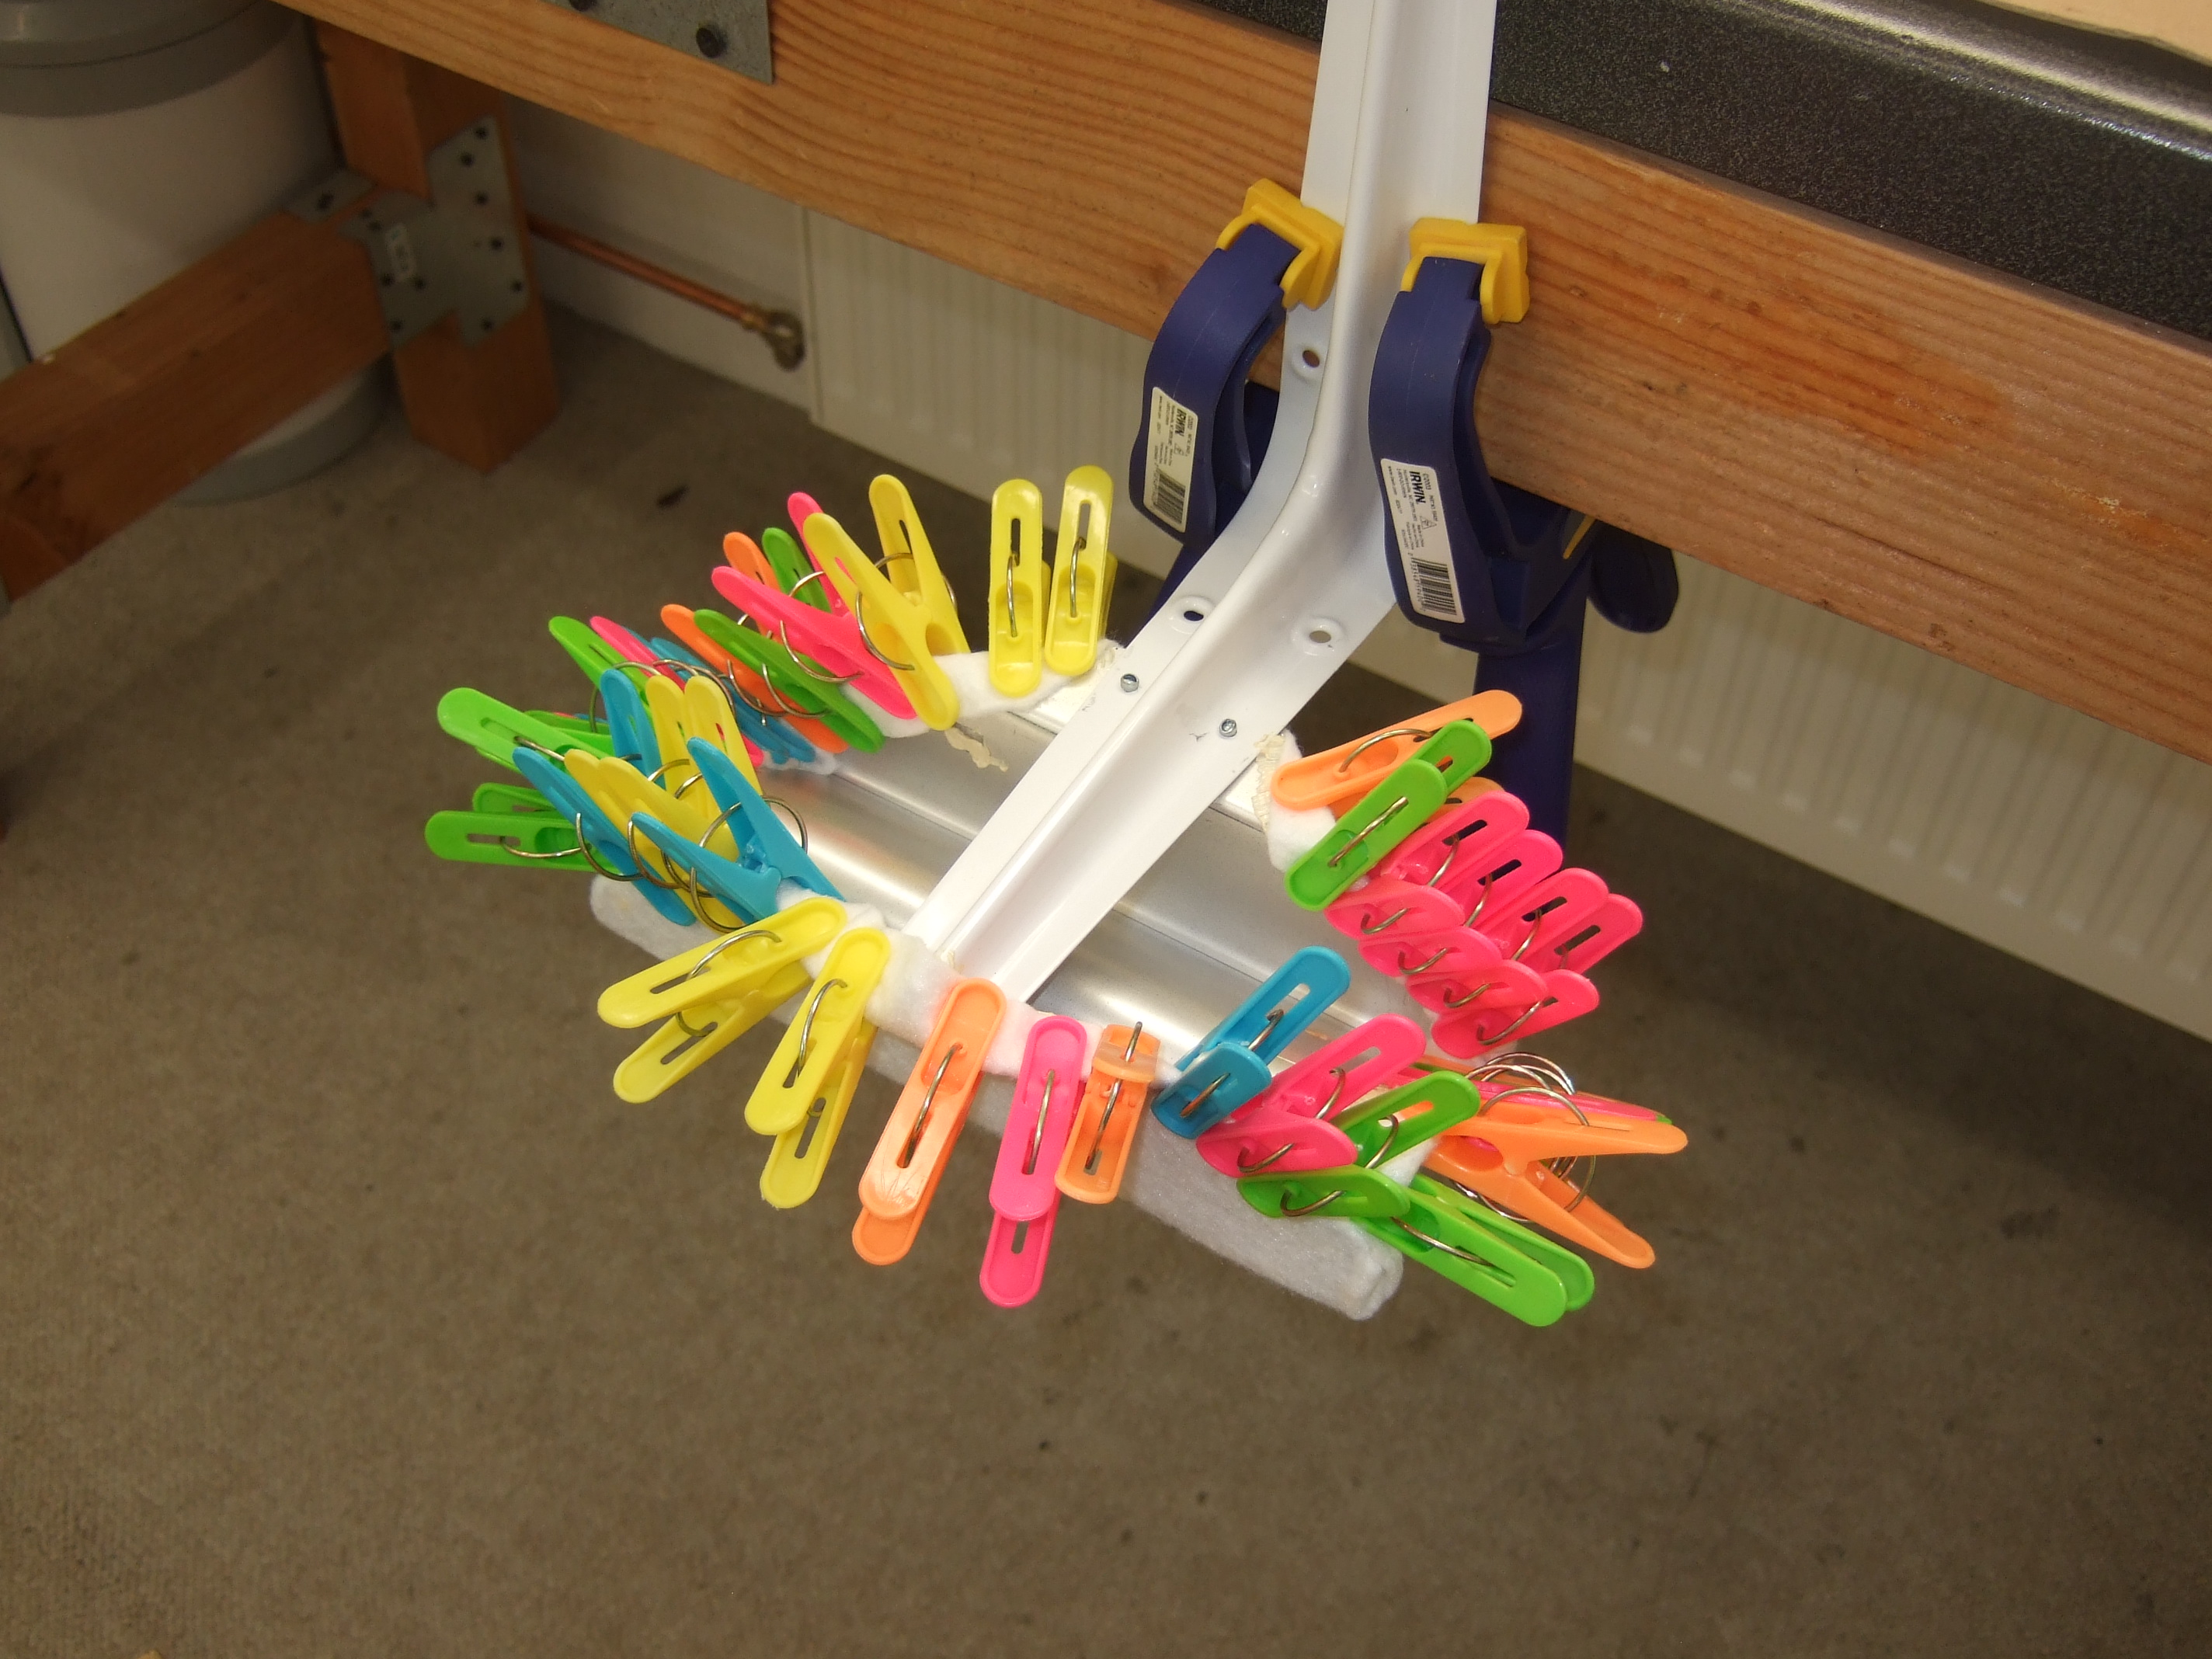 clamps again
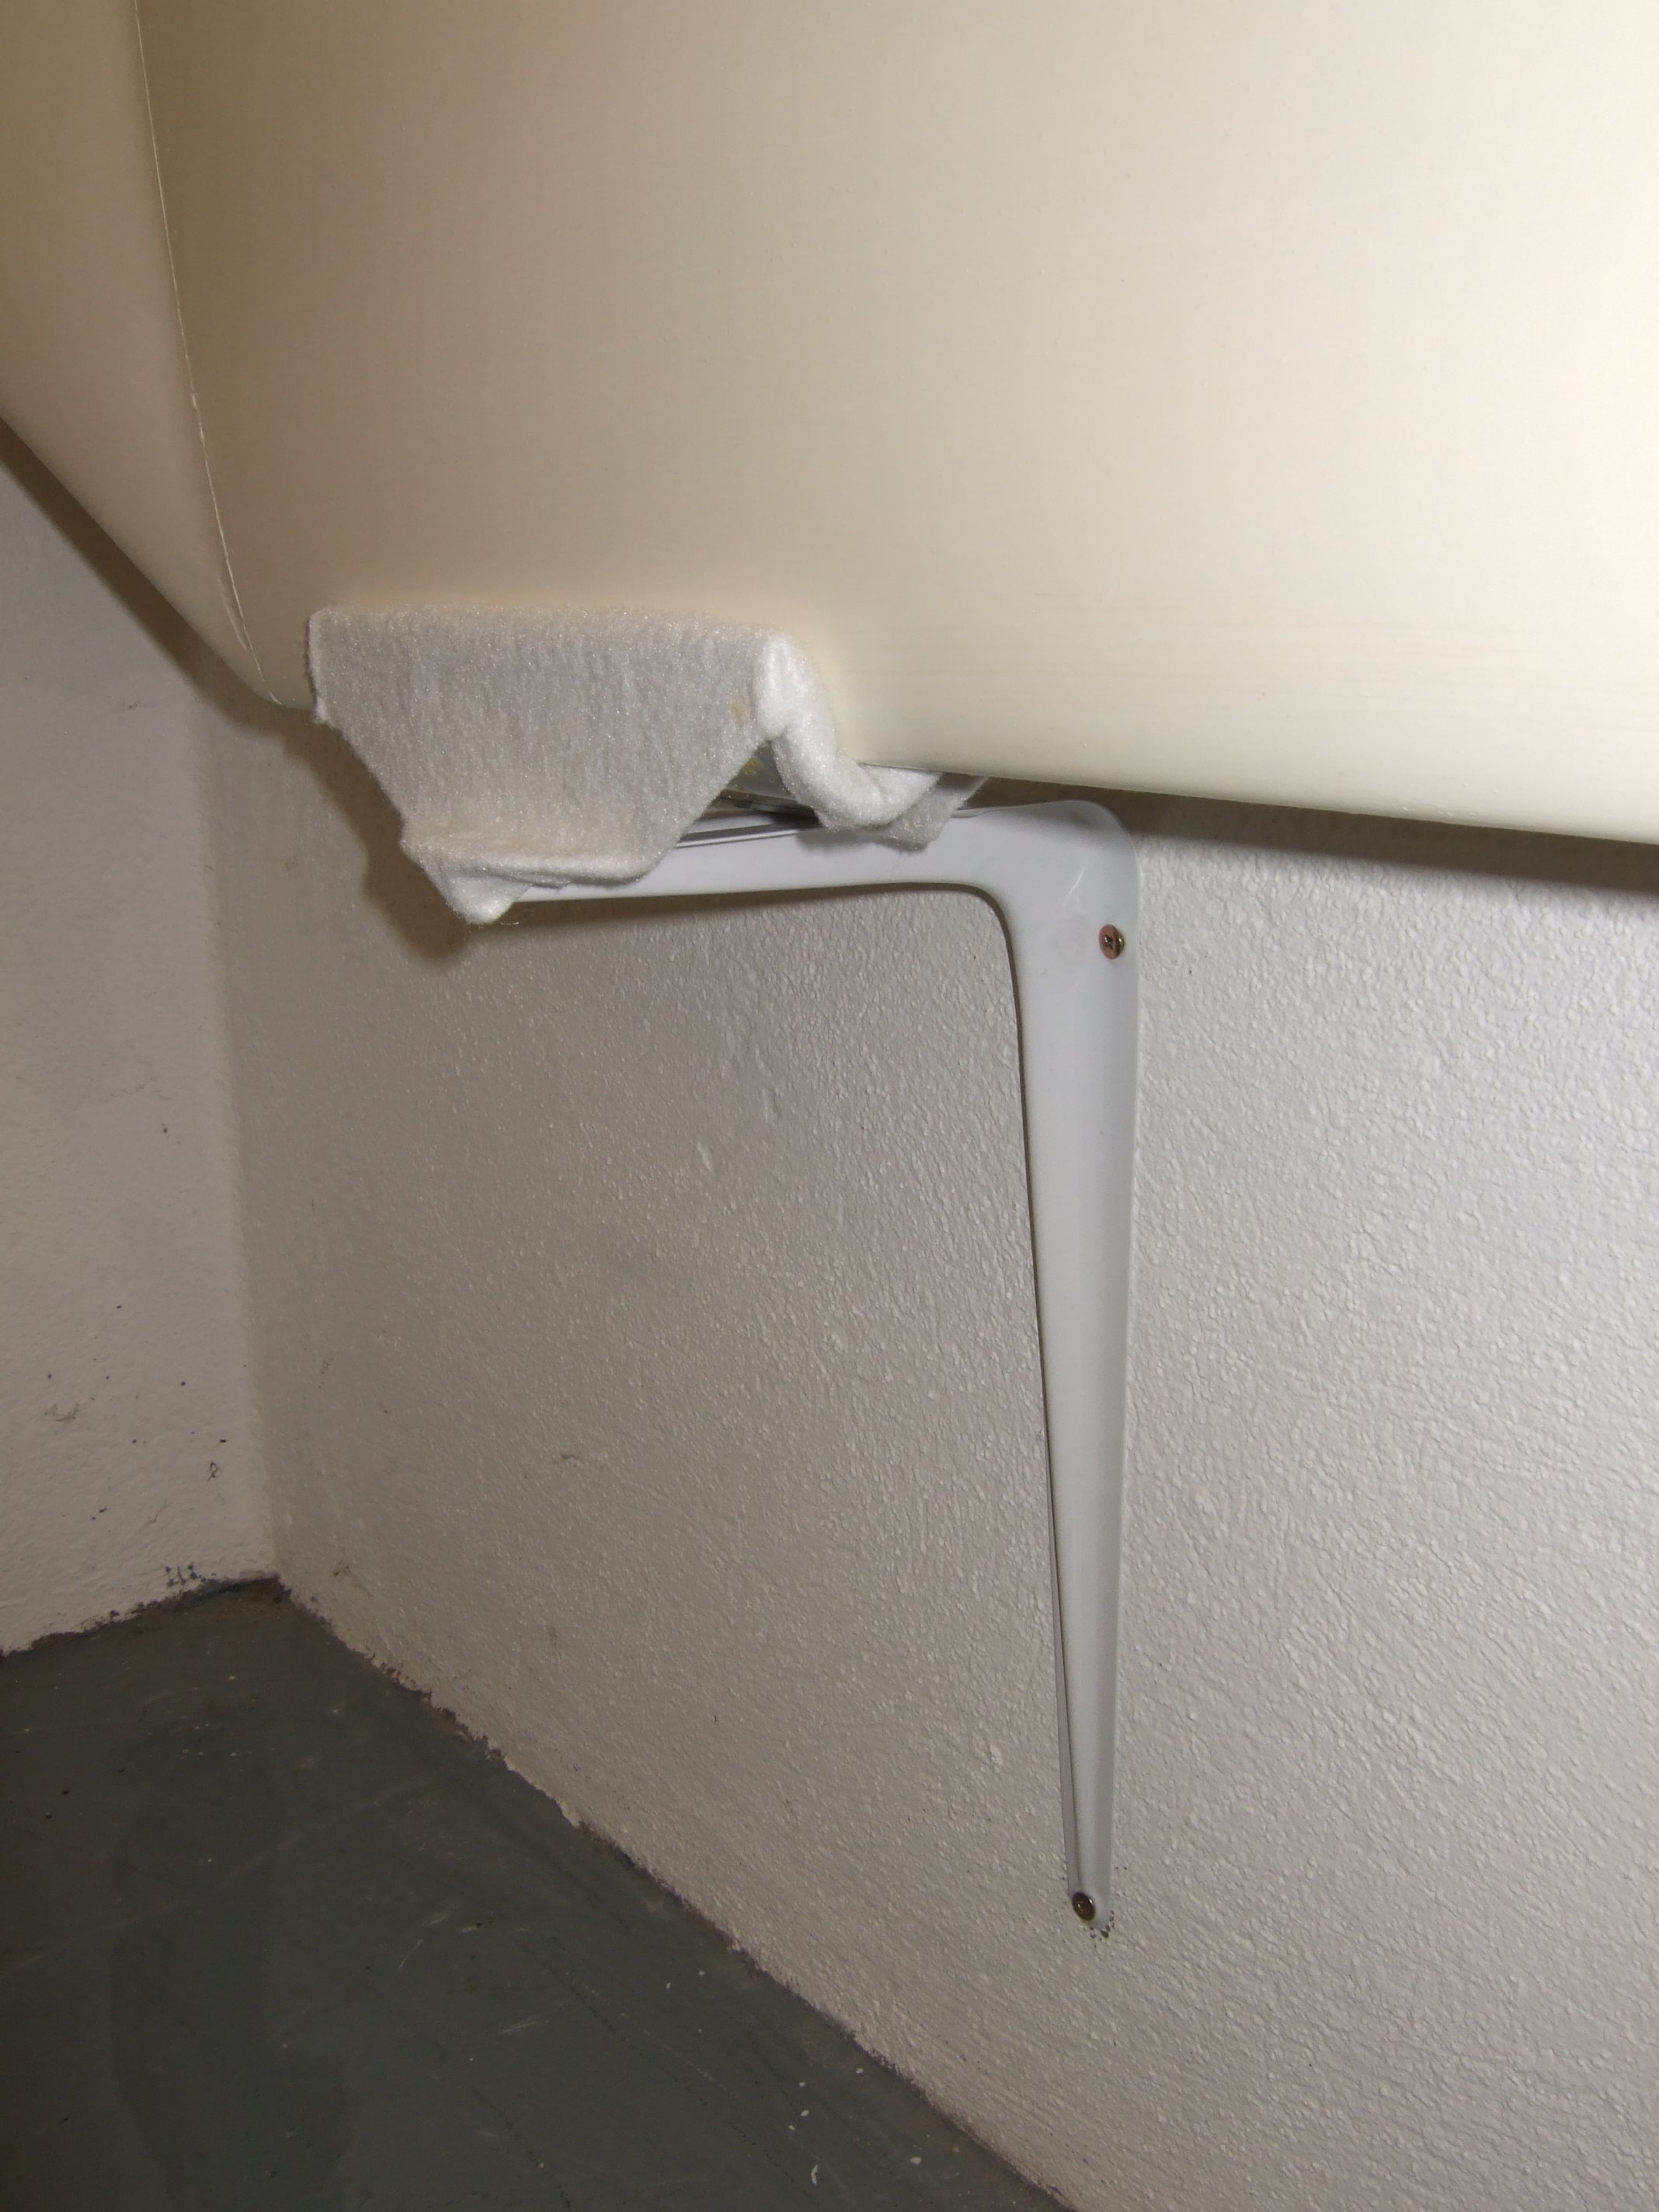
 Done
Done J-5 Home