 Deutsch
Charge Port
At the time I did TM 826/33 on my DG400 I was thinking: Why does a BOSCH controller which is designed for several thousands of hours fail after just a couple of hours in our DG400s?
 Conversion kit from DG
But first a couple of pictures showing the installation of the new controller.
old controller
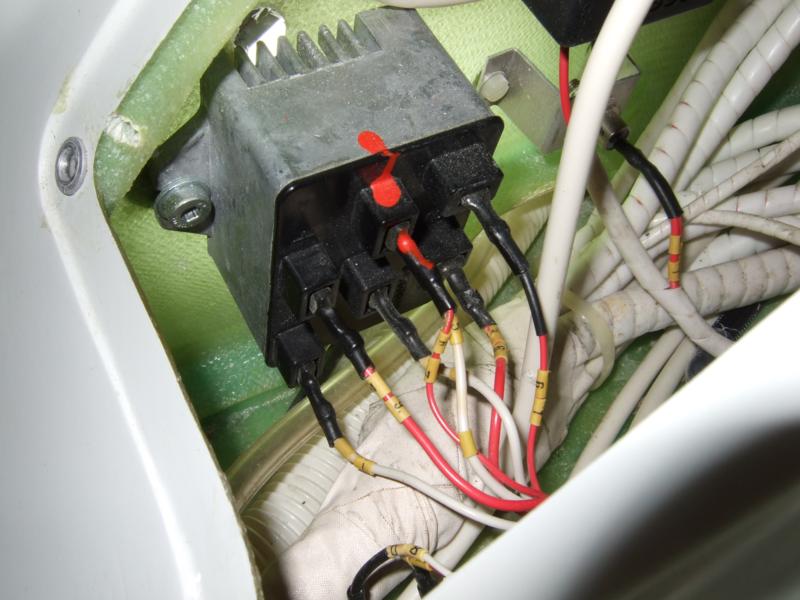
DG did prepare the new controller nicely, even after I belief something smaller than M10 also would have done the job ;-)
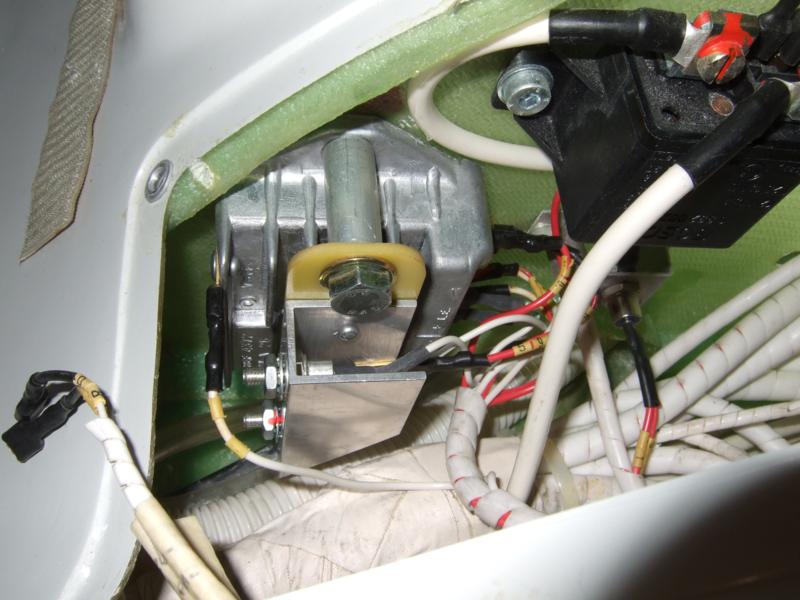 new controller
While exchanging the controller I was asking myself: Why does a BOSCH controller which is designed for several thousands of hours fail after just a couple of hours in our DG400s? A quick view into the circuit diagram gave the answer:
The manual tells us to charge the ship via the socket in the luggage compartment with the main switch on. The manual also tell us to disconnect the charger after fully charged and to turn off the main switch. This of cause isn't practical in the real world application and also not the optimum for our lead acid batteries (they like to be connected to an automatic charger). So I guess, that the owner of the smoking DG400s simply ignored the manual and did let the ship sitting in the hangar, connected to the charger with main switch on. This way the controller are under power all the time and age for hundreds/thousands of hours without being used.
So it wasn't the BOSCH controllers fault, it was simply the lack of a separate charging connector. Such one can easily and elegant be installed:
charging connector laminated
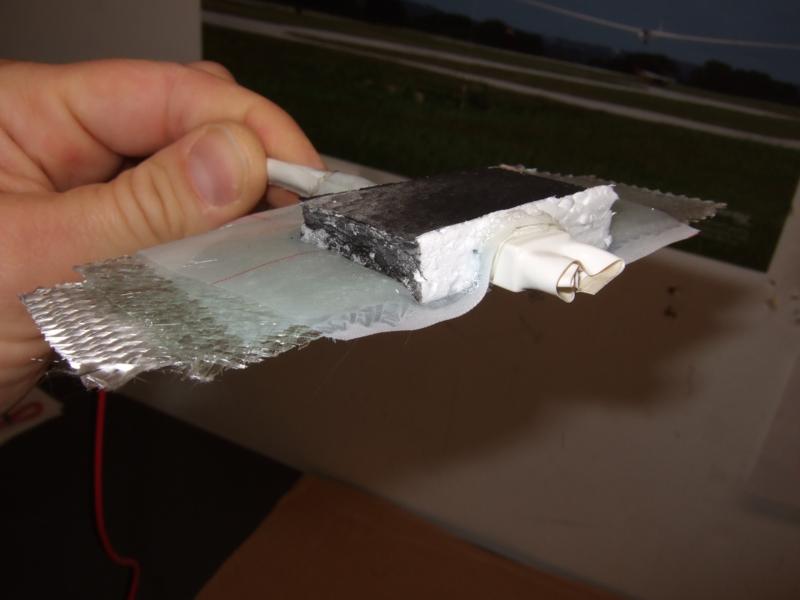
I decided for a foolproof high current connector. We do not really need high currents, but I wanted a robust connector. Like the picture shows I did a layup of 5 layers 300g/m2 BID fiber glass + peel ply. Styropor was used to hold things in place while curing.
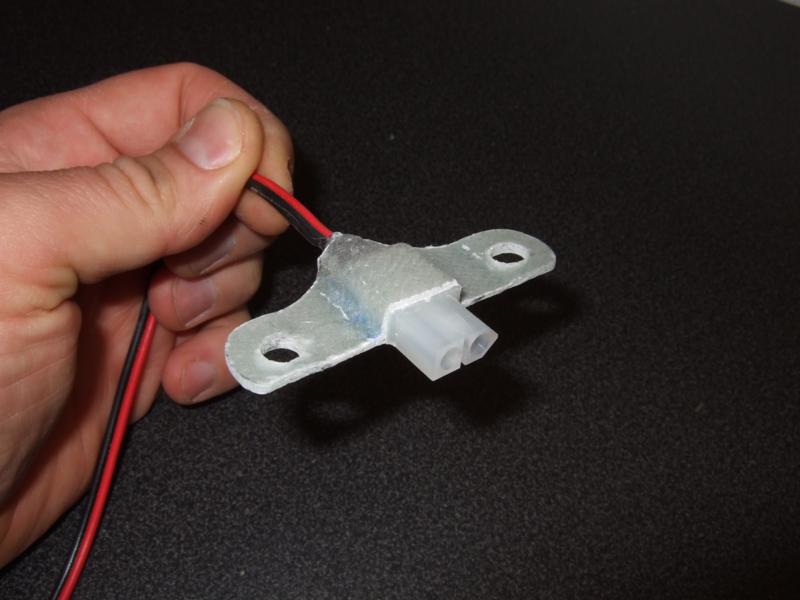 shaped connector
After curing (and post curing) I did cut the fiber glass holder into shape, so that it could be attached to the rear pedal slider screws.
fuse
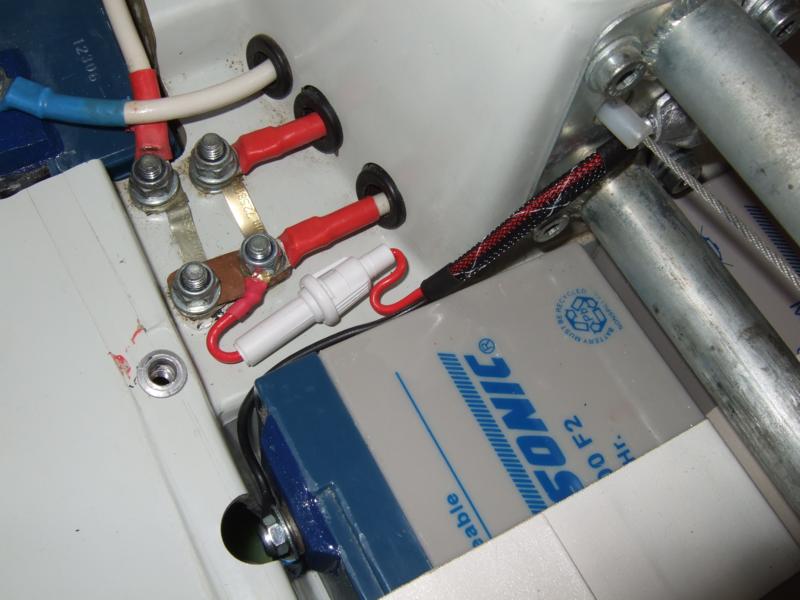
Attention: There has to be a fuse between the connector and the battery! I'm using a 1A charger, so I installed a slow 2A fuse.
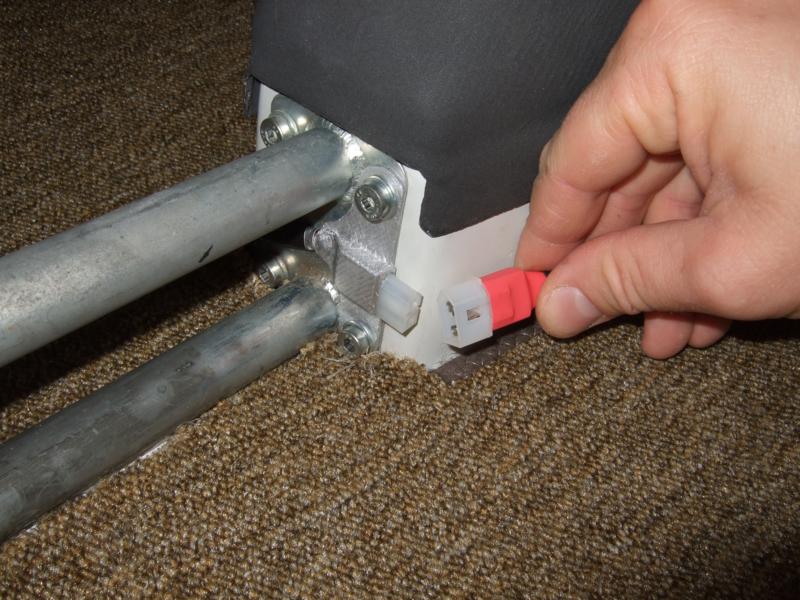 installed charging connector
Using hammer finish paint the installation looks really good. Now the main switch can be off, while a automatic charger is taking optimal care of the battery.
Impressum, Disclaimer & Datenschutz
![]()