 German
- Our new kitchen -
Hi out there. Here are some pictures, showing the progress off our kitchen.
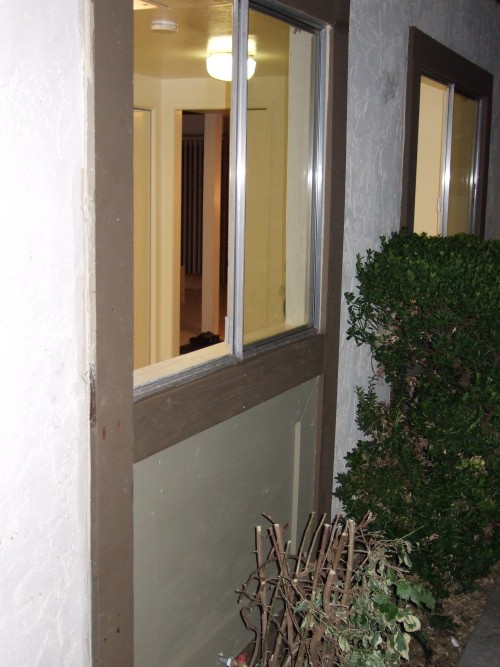
 surprise
..
surprise
surprise..
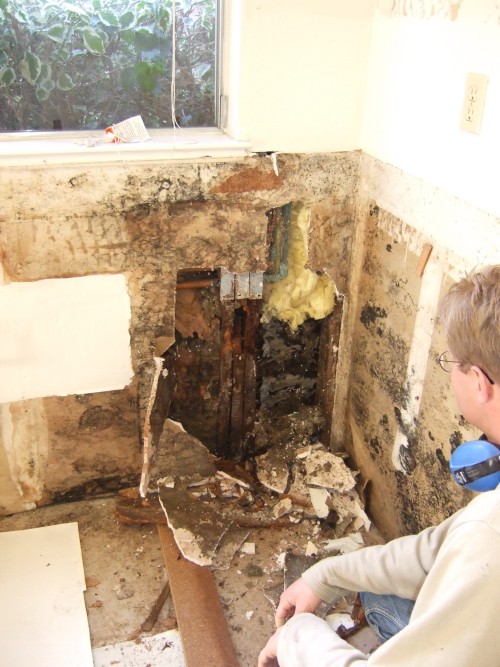
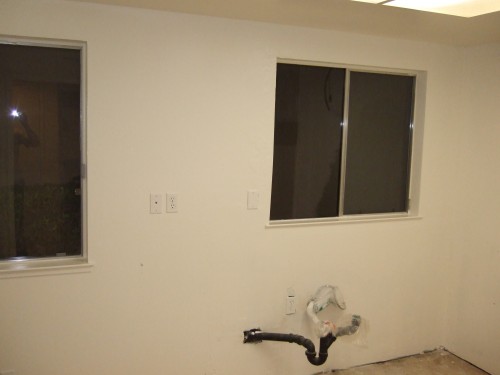
After removing the old cabinets there was an surprise for us. The wall had to be fixed before we could go on remodeling the kitchen.
clearing
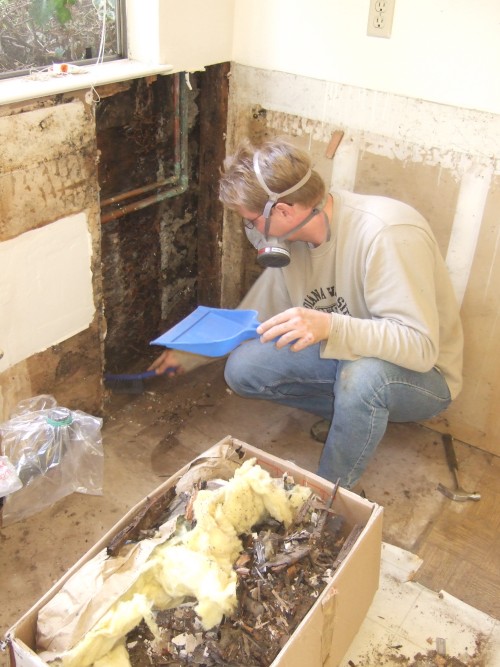
We cleaned everything so far and informed our landlord. On the next day two home builder started the work. Many thanks to our landlord for this quick reaction!
 homebuilder at work
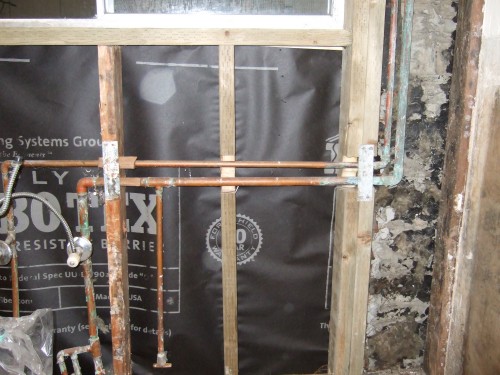
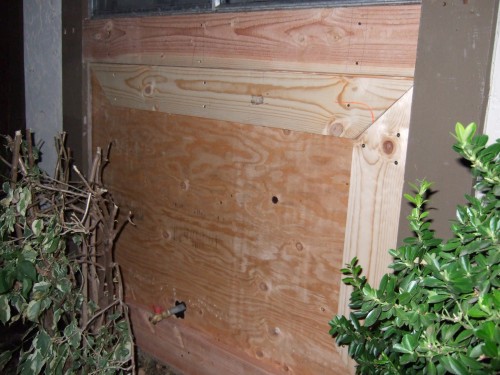
Within one week the home builder replaced the damaged beams, the outer wall and the drywall. I was glad that everything worked perfect and they did a very good job.
main structure fixed
 after dry wall installation
closed again
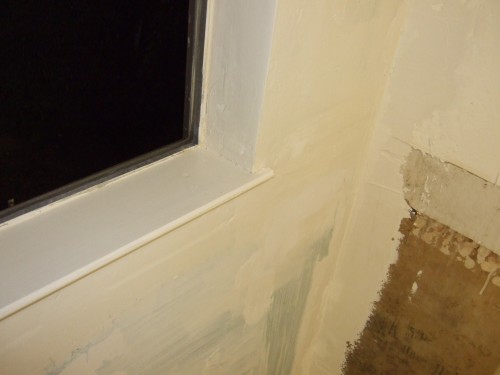
 before painting
after painting
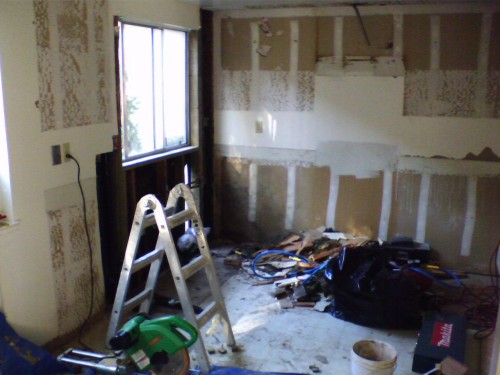
After that we could continue our work. We removed the old floor, the old plugs, switches, ....
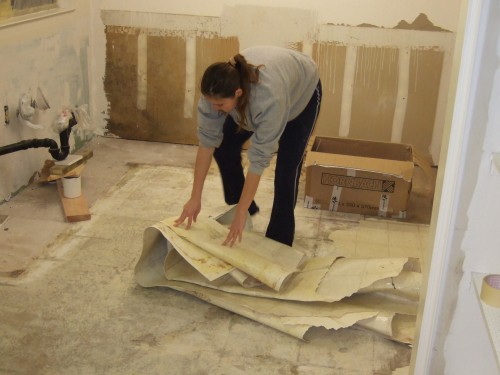 removing the old floor
For a good paint adhesion the walls had to be cleaned and grinded.
preparing the walls for
painting 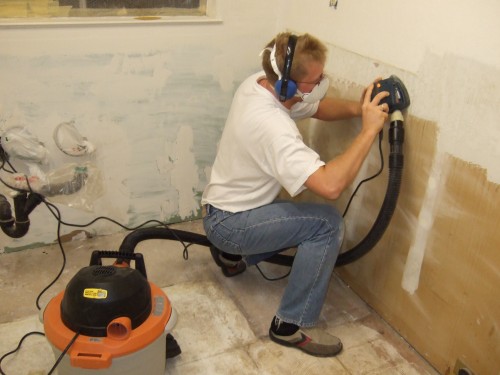
We took a paint sample, went to "Home Depot" and they mixed the right color for us ("Swiss Coffee Cream").
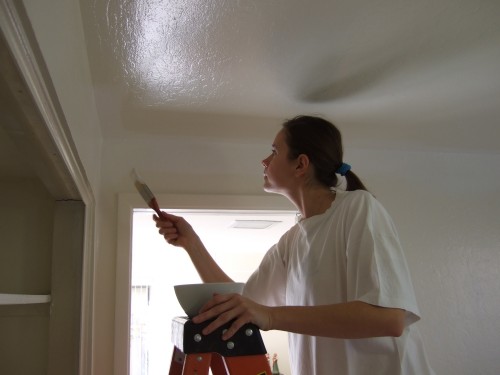 Jadwiga painting
On this face you can see, that somebody is already dreaming of the new kitchen ;-)
some places really needed
a refresh
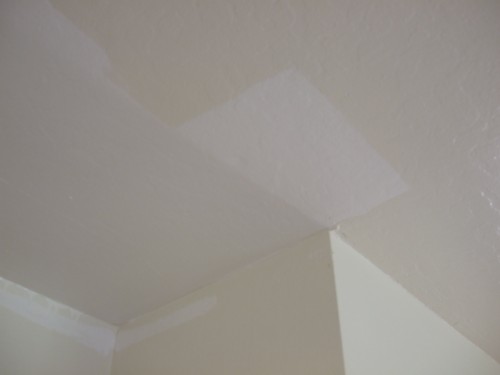
Especially near the oven the paint was pretty used. This picture shows the difference! It was real fun to see how nice it came out afterwards.
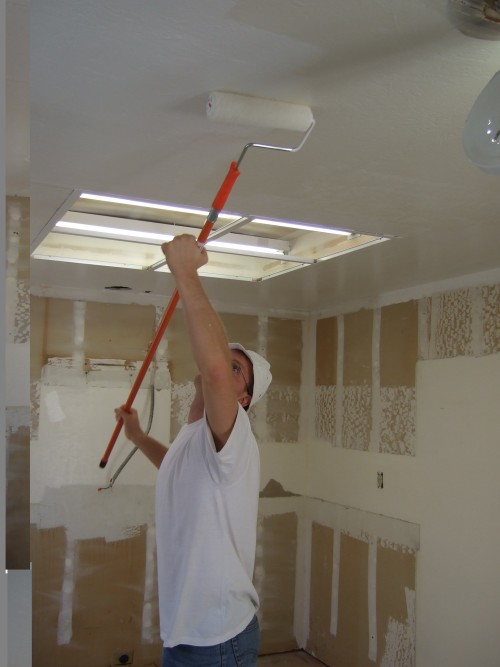 Marko @ work
After all this preparation the painting itself was a pretty quick job. We cleaned everything and for the windows we used tape and foil in order to protect it from the paint.
new switches
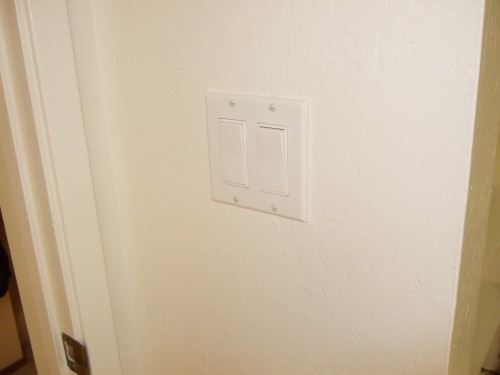
After the paint was dry we started to install the new switches and plugs, like I did in the rest of the house before as well. Just these little new things gave every room a much better look. And of cause new devices means more safety! Especially in the bathroom I installed plugs, which automatically switches off in the case of an electrical failure(e.g. hair dryer water contact).
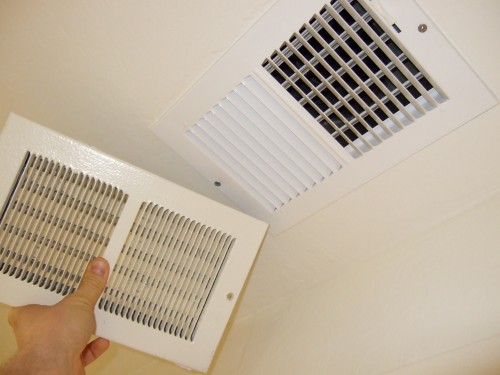 new opening
Installing a new opening for the heater had some reasons: The old paint looked awful, the gasket wasn't tight and it was easy to replace.
new light
cover 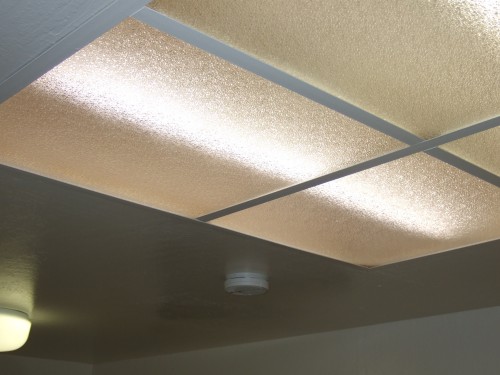
The old light covers became brown over the years and didn't quite fit to the new paint ;-) So we simply bought new covers and installed them. A quick job with a nice effect.
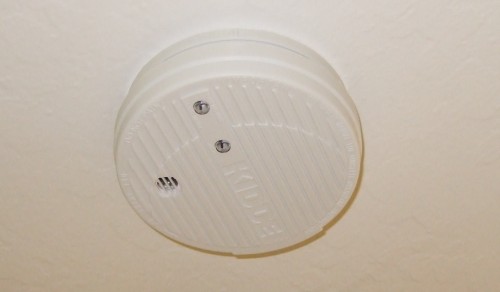 new fire detector
The house is made of wood and so a working fire detector is always a good idea. I didn't trusted the old one simply replaced it. The new one isn't paint covered and looks grade next to the lamps.
 before/after
After all this now we are ready to install the new floor. It will become pretty the same as the one before, just new.
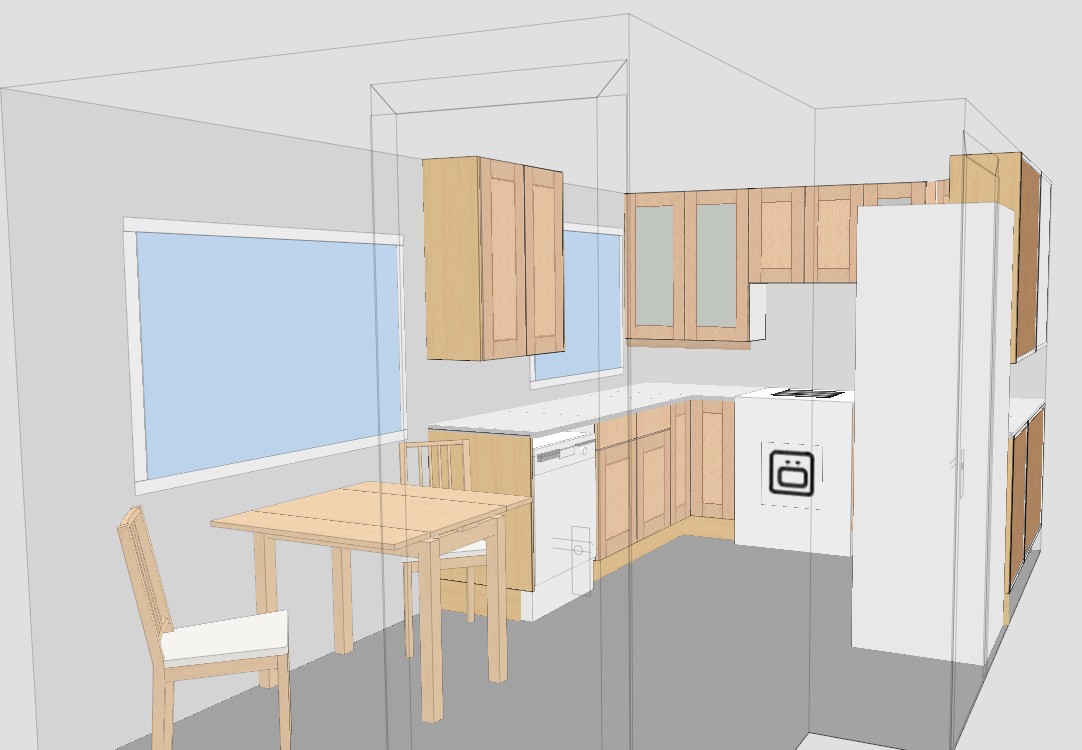
I also did already some 3D-CAD design of the cabinets. It's not finished yet, but the picture below gives you an idea how it will look like finally. The arrangement will become pretty the same as it was before, but new and nice. We are really looking forward to get it finished in January.
The last step before installing the cabinets is to install new floor.
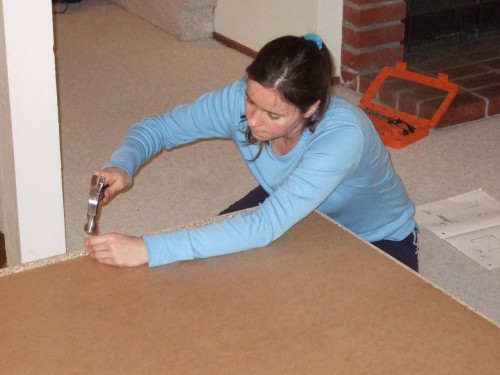
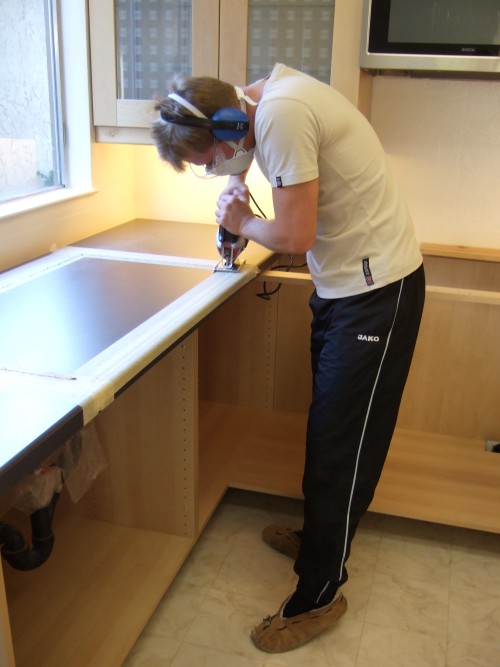
cutting the right shape
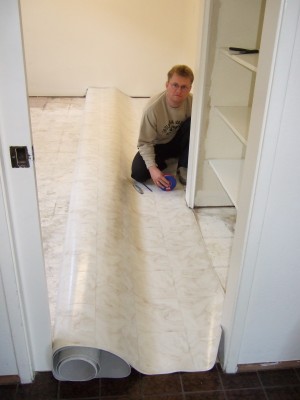
It was a bit tricky to handle the big sheet, but finally we made it.
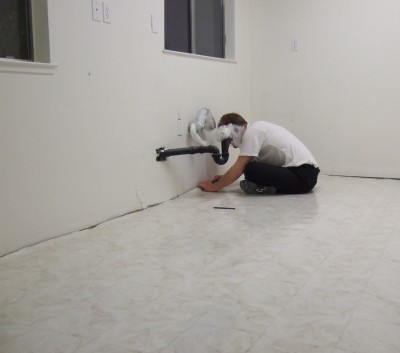 adjusting the floor
After the adhesive was applied, the floor had to be adjusted within 15 minutes. This is always a challenge, since you have to make sure that there are no air bubbles left underneath the floor.
nice result
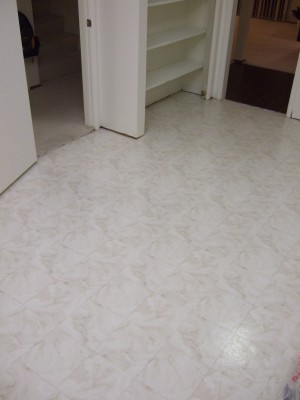
Now it looks great and we are ready to install the first cabinets.

Buying was quick, but then the real work started.
 Jadwiga assembling the cabinets
cabinets workshop ;-)
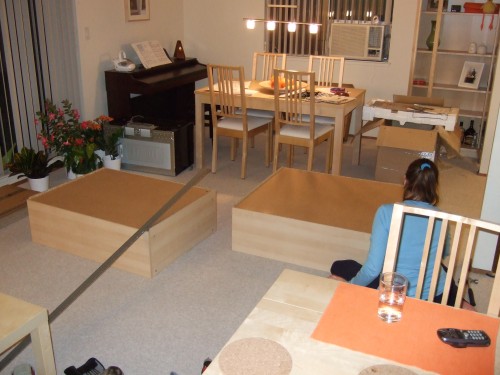
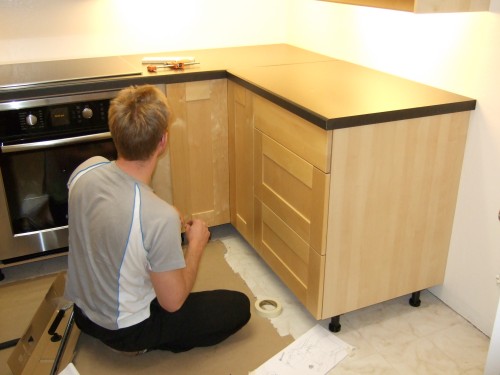
While Jadwiga did assemble the cabinets, I was looking for the beams in the wall, using a stud finder. Then the suspension rails had to be cut at the right length.
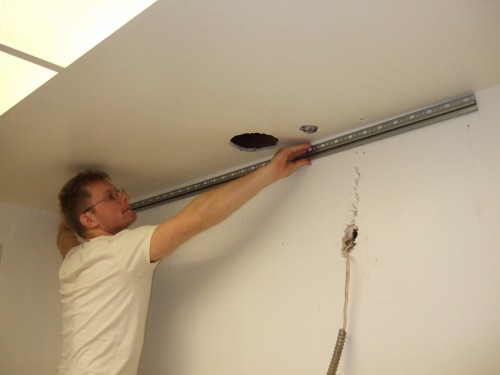 installing the suspension rails
Since large screws are being used it took some power to install the suspension rails.
screwing at the right
position 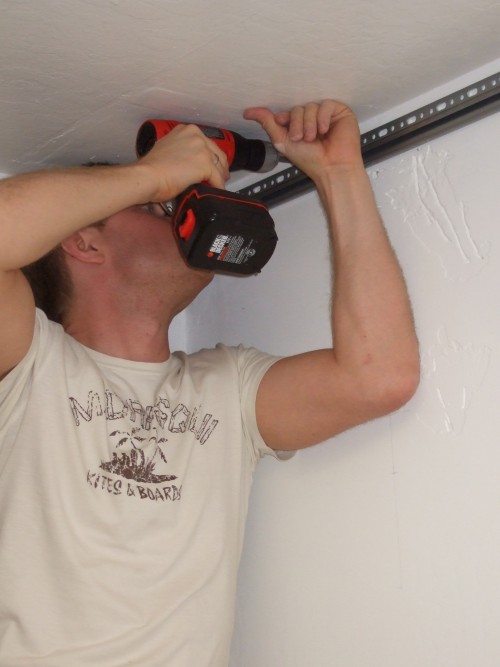
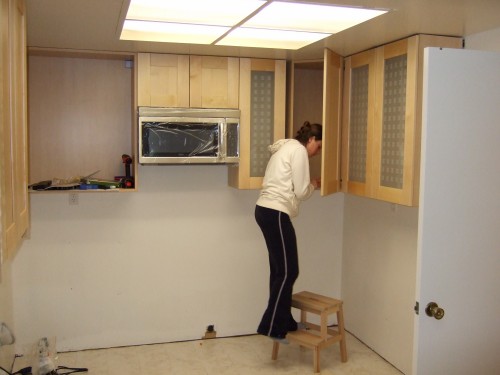
Installing the fan cabinet took a while. All the openings for the microwave and the ceiling had to be cut.
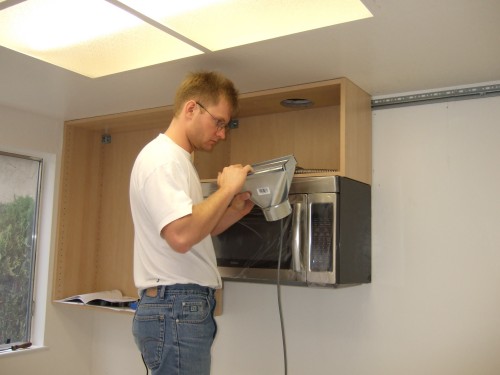 not happy
For the fan exhaust I bought a bunch of tubes and adapters, hoping to find a good solution. But I wasn't satisfied with the possible solutions. So brought all the tubes back and bought a plain sheet of metal and started to build my own one from scratch.
making my own

After my own tube was installed I liked the result :-)
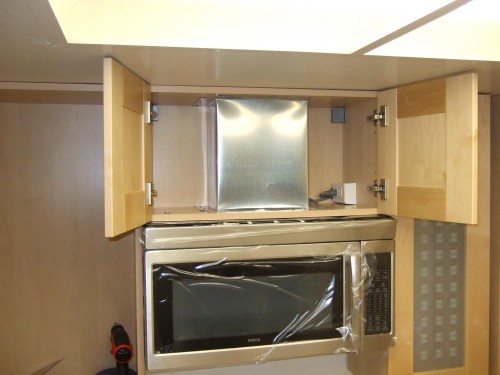 perfect fitting result :-)
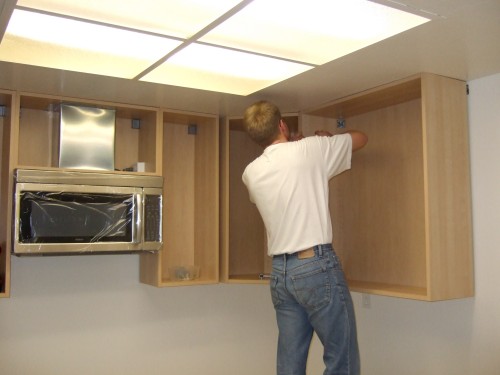
Installing the rest of the cabinets then was a quick job. I had to do some adjustment, since the ceiling wasn't perfectly flat.
installing the rest
 Jadwiga installing shelves
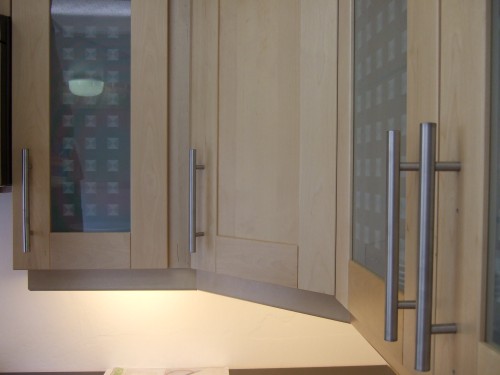
In order to have some nice lightening I had to install some deco strips underneath the cabinets. Cutting it at the right angle was half a day work, which I didn't expected. But it came out very nice. Also the filler piece had to be cut by myself. It's the small part at the right hand side between the small glass cabinet and the corner cabinet. I had to do this work twice, since the first try didn't came out in the quality I wanted, but the second was pretty perfect :-)
wall
cabinets finished
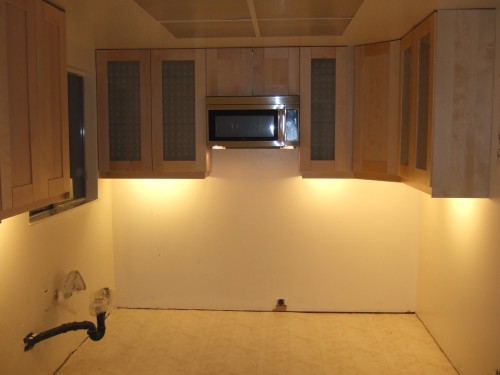
The last step on the wall cabinets was to install the lightning. Every lamp can be switched individually, so that working on the counter top will become a pleasure :-)
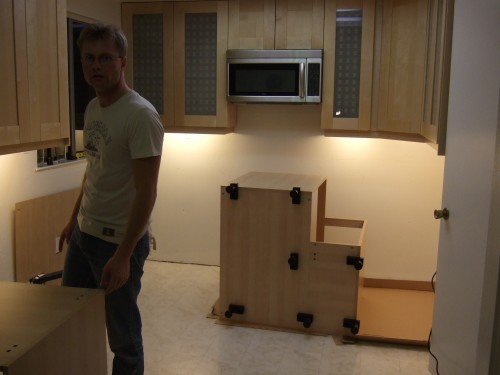
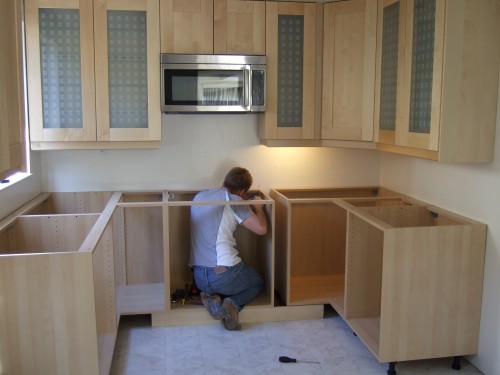
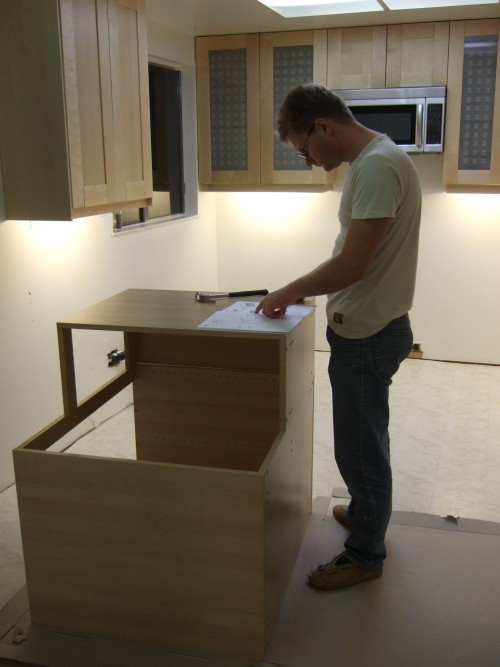 assembling the
base cabinets
assembling the
base cabinets
Assembling the base cabinets were a quick job. Jadwiga has done the most of it, so that I had time to install them.
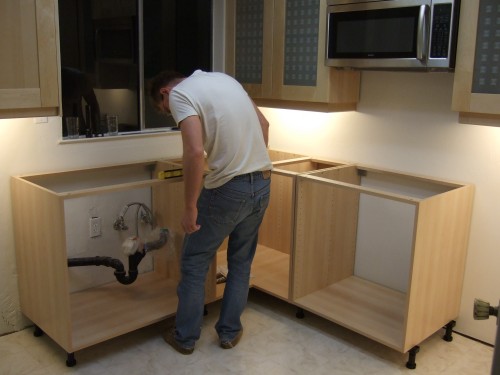
cutting the back
wall for water supply
The sink cabinet took a bit more work. The back wall had to be cutted, to that the power and water supply would fit though it.
 water level
Another surprising thing was, that the walls were this uneven, that it was quite a hassle to align all the cabinets.
wall adjustment
The oven cabinet needed some cuts for the power supply. Furthermore I had to replace the dryer plug for a proper range outlet. The main difference between both is, that the range outlet has a further connector for ground.
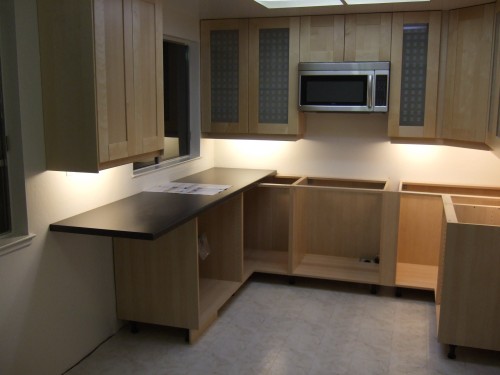 ready to install
Finally the filler piece on the right had side of the oven cabinet had to be cut and installed. Now we are all set to install the dish washer, sink, left counter top, ... ect.
measuring the sink
I began with the sink. Following the installation instructions I marked the boarders, then subtracted 10 mm.
 cutting the sink hole
For cutting the counter top again my brand new electrical pad saw came into action.
close up
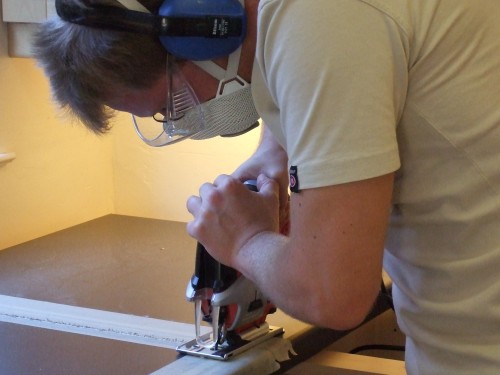
Cutting the counter top is very noisy and you have to protect your eyes as well! Even if using a vacuum it's still a dusty job.
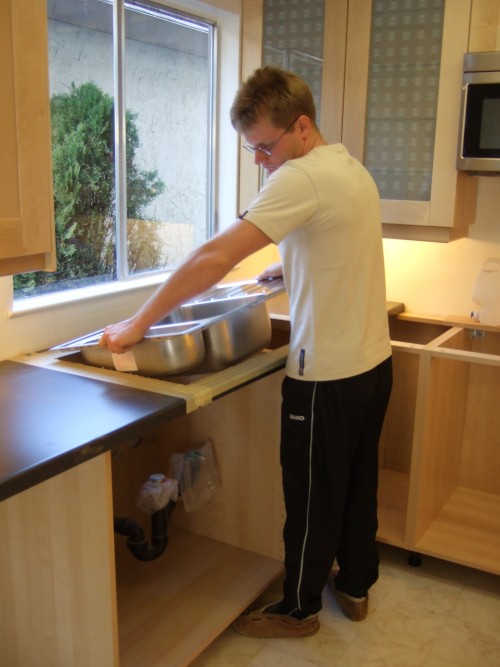 fitting test
And then there is the moment of truth: It fits :-)
PU-Silicon
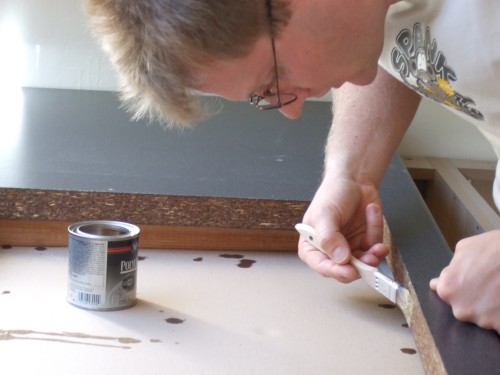
In case that the water can pass the silicon barrier, the wood has to be impregnated with PU-Silicon. For applying this is I was using the old fashion method "paint brush".
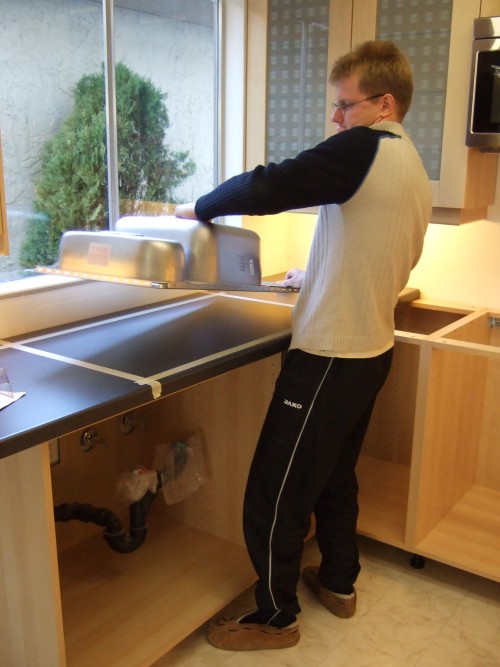
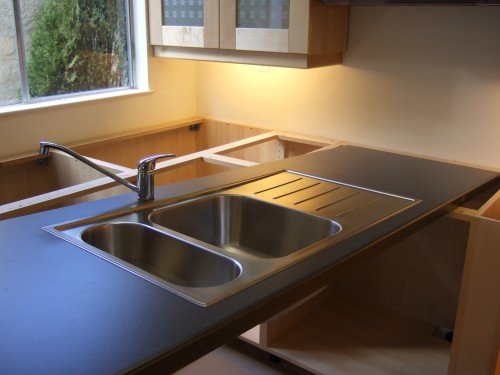 sink and water tap ready
IKEA is providing a sort of plasticine for sealing the sink to the counter top, but using this didn't really work. Applying real cartridge silicon gave a perfect result and is 100% seal!
installing the cock top
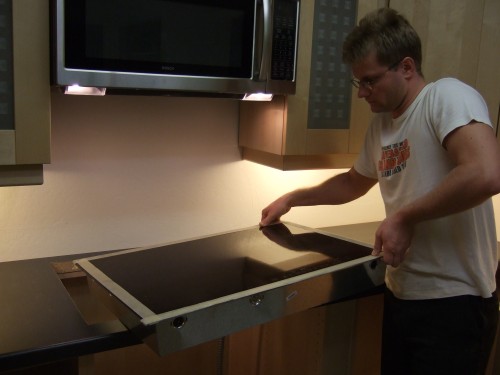
As the next step I installed the cock top. After all the sink practice this was a strait forward job.
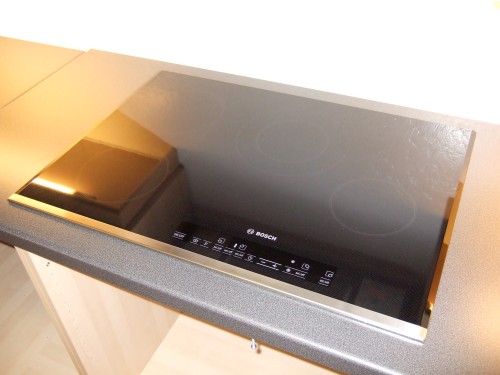 nice
touch controls
nice
touch controls
The cock top itself is a high quality Bosch one with touch control. This ensures an easy cleaning and just looks great!
state after the weekend
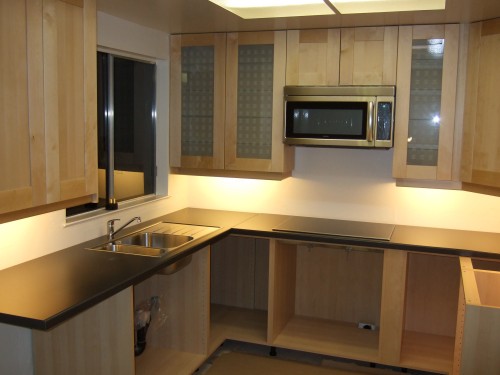
So after this weekend the kitchen looks like this. The next step will be to install the oven and afterwards cutting the last piece of counter top. The dish washer is ordered, but it'll take a couple of days until it arrives. We do need it for cutting the counter top at the right position so that there will be no gap at all between the end wall and the dish washer.
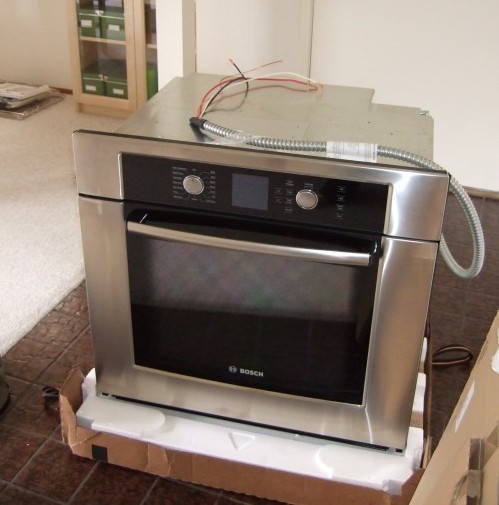 unpacked oven
The oven is nice Bosch build in oven. I looked for many others, but the Bosch appliances are simply the best.
installing the cables
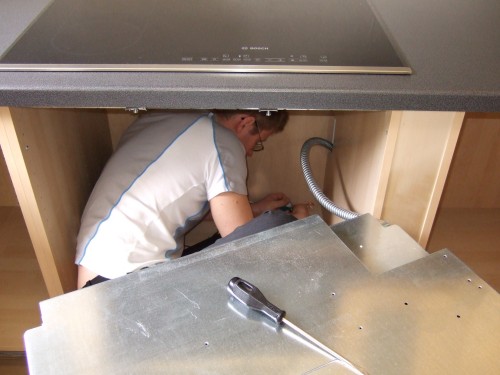
I'm not sure if a PhD in Electronics is necessary to install the power, but some knowledge about this stuff helps ;-)
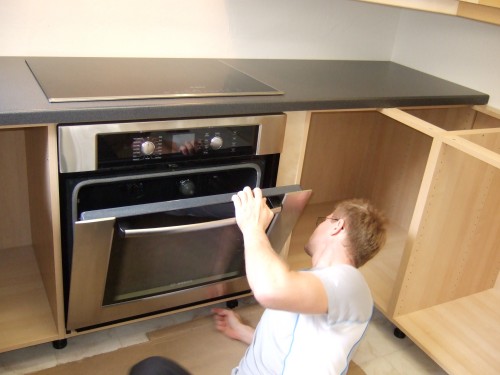 fixing the position
The oven was pretty heavy to lift, especially for Jadwiga. But finally we made it and it was so nice, to see how smooth the oven did glide into it's gap.
oven ready to use
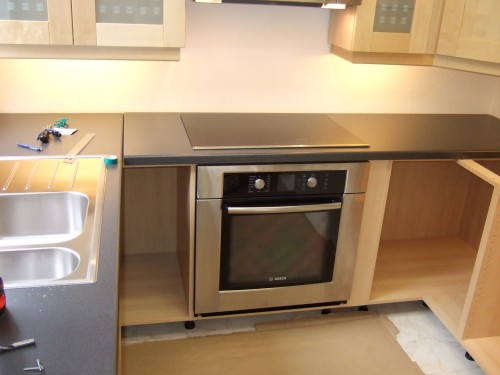
For being honest - Jadwiga and I were a bit proud after the oven installation.
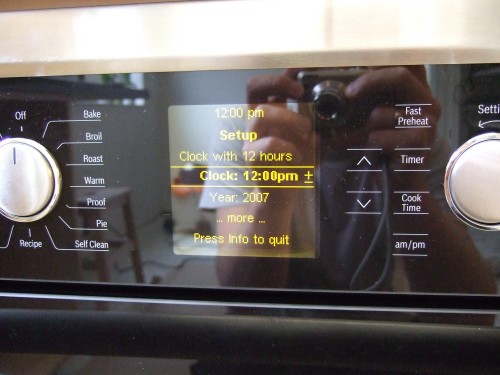 controls
The controls of the oven are a mixture of touch control and ergonomic retractable dials. This is especially a good thing if you have small children.
installing drawer rails
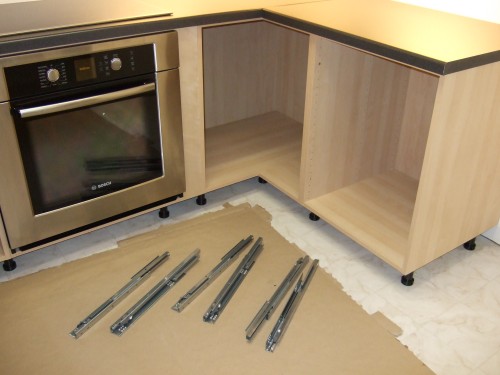
While Jadwiga was building the drawers, I installed the rails. A special nice feature are the smooth closing damper elements.
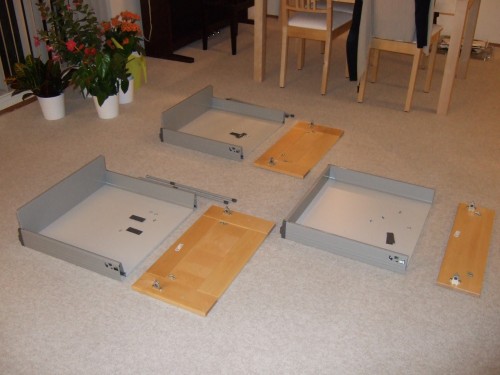 assembling drawers
After the drawers were done, the inner live of the corner cabinets had to be installed.
installing corner door
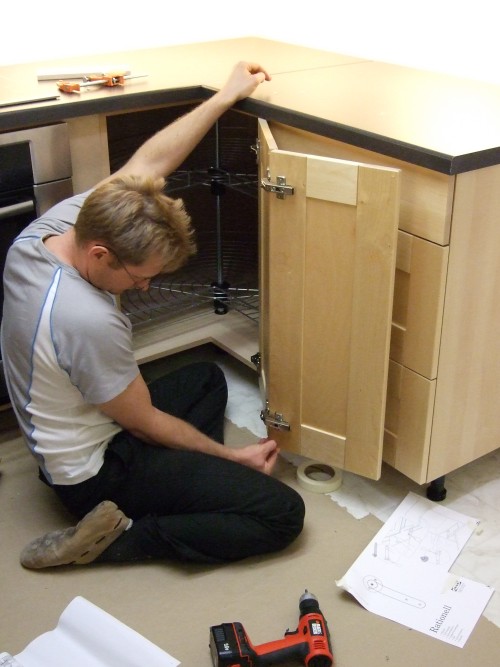
Finally the door had to be installed.
 last alignment
After one day work the oven was installed, the last piece counter top was cut, all the counter tops were secured and the draws plus doors installed.
today's result
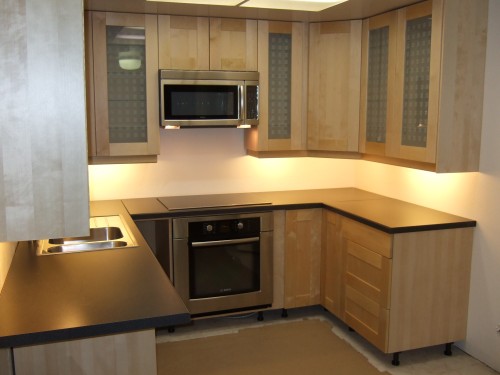
Now we are waiting for the dish washer. Since it's defining the exact position of the left hand counter top we are on stopp at the moment. But it's ordered and hopefully already on it's way. Which brand: No question - we choose quality, and that means Bosch!
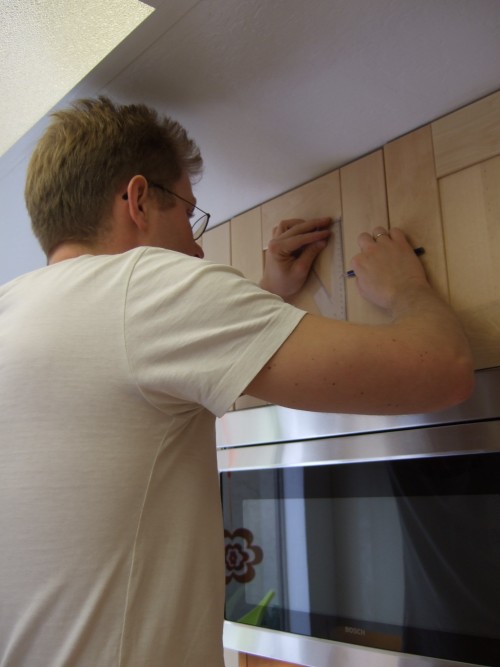 handle position
Like you can see on the picture before, the handles were missing and had to be installed.
nice :-)
Therefore you measure the hole position and then: you have to drill into your brand new cabinets!
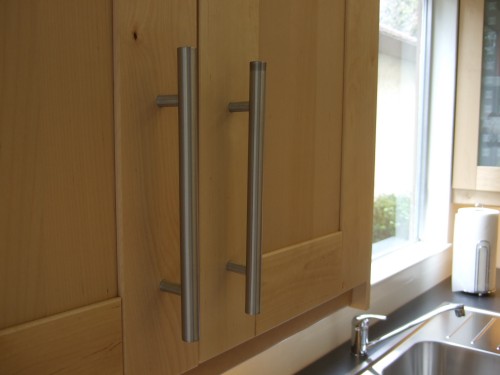
 some more...
Finally it looked nice, but it took a half Saturday to do this job.
base cabinet handles
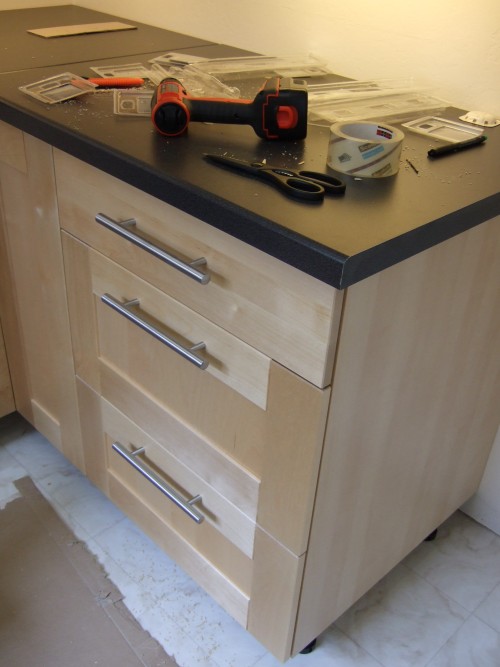
Looks more like a workshop than a kitchen ;-)
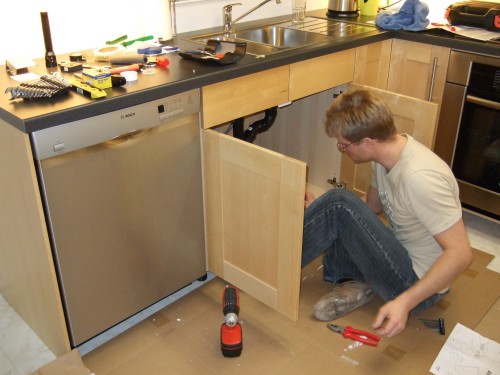
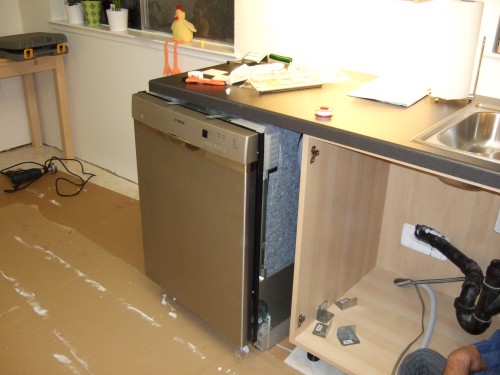 fitting the gap
We had to wait a while for the dish washer, but finally it arrived and I was pretty keen to finish the rest, so that we could start to use the kitchen. I did wait with the cover panel until the dish washer arrived, because I wanted the gap between the cover panel and the dish washer as small as possible.
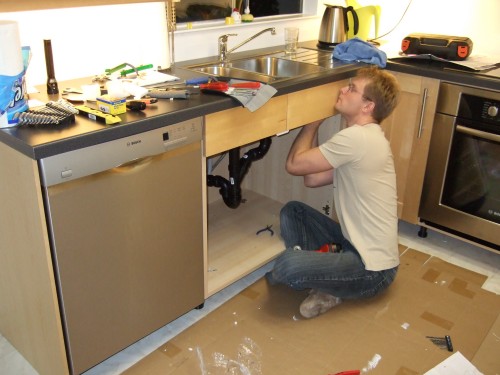
electrical installation
Here you can see me installing the electrical power supply.
 water installation
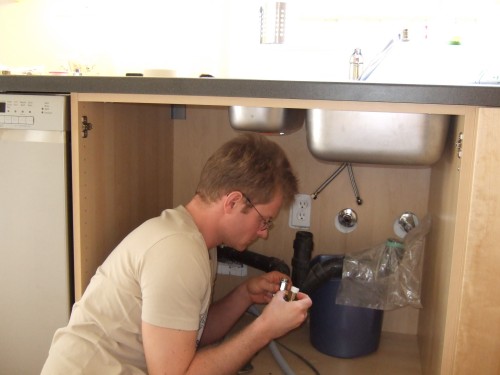
The water took somehow more effort. In the US there are different sizes available and it took me a while to figure out what is for what.
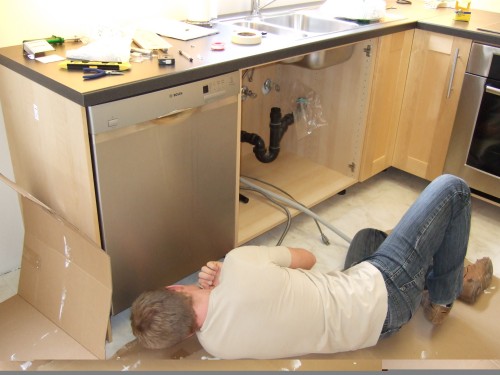
fun in the base cabinet

Ones I had all the material, the rest was a quick job. Working on the floor, partly inside the base cabinet, is not really fun, but it as OK.
 front installation
After the fresh water supply was done, I expected a nasty job doing the drain.
new drain
But the ABS-Cement makes it so easy to do this - it's unbelievable how easy it was to glue everything together :-)
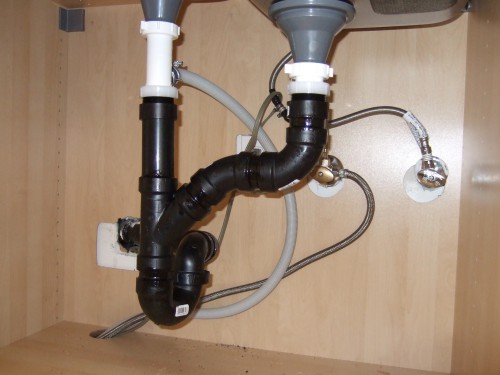 new drain finished
The picture above shows the drain installation. I think it looks done pretty professional ;-)
installing filer piece
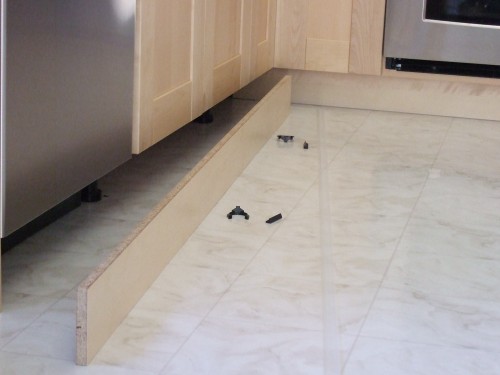
And then the work started to came to an end. The last detail have been, to install the lower filler pieces.
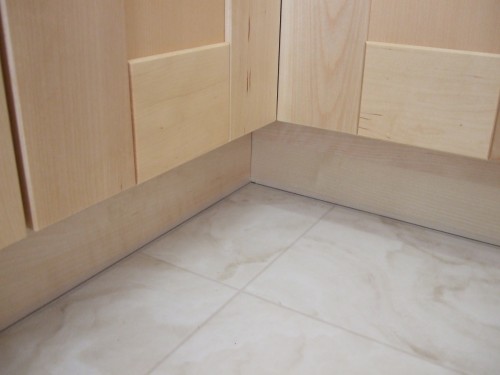 filler piece done
On this I especially liked the IKEA floor protection. It makes sure, that no water will go into the wood, even if you flood your kitchen ;-)
Impressum, Disclaimer & Datenschutz
![]()