 Deutsch
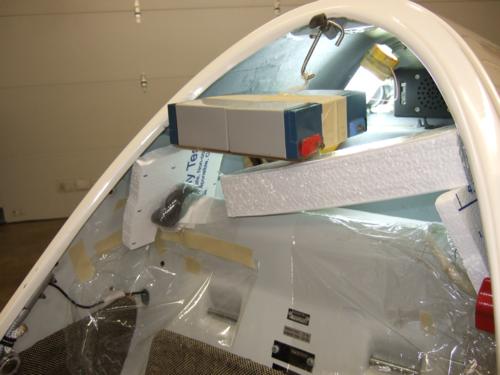
Canopy Holder & Bolt hole
In Hollister (CA, USA) we are getting lots of gusty winds in the afternoon (~20 kt), caused by the see breeze from the Pacific. The levers on the DG canopies are are quite remarkable and so are the forces. The hinge bolt is feed into the hinge though a hole in the side wall. At production this hole is simply filled with Polyester filler without any reinforcement.
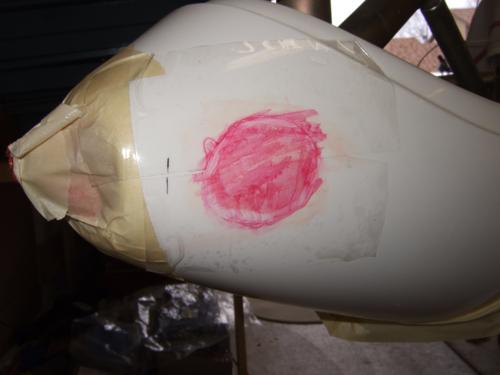
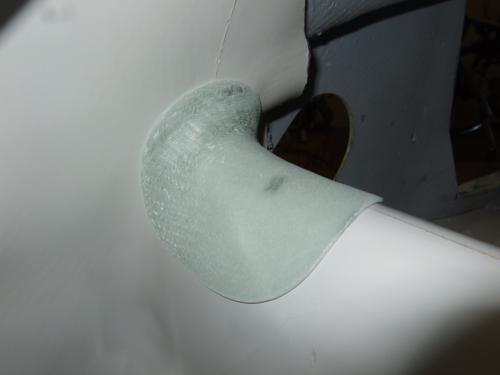
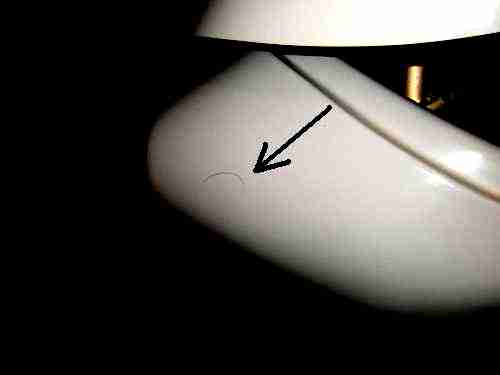 Gelcoat crack
It's easy to imagine what happens to the filler once the wind starts to shake the canopy: Right: a nice gelcoat crack is decorating the fuselage. I have seen this on several DGs, so it looks like a common problem.
taped
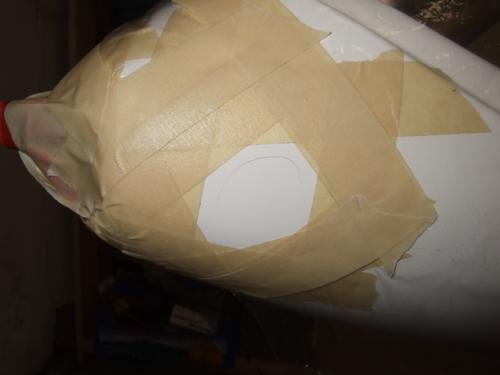
On this page I want to show what I did against these cracks, but first a couple of pictures how I repaired it.
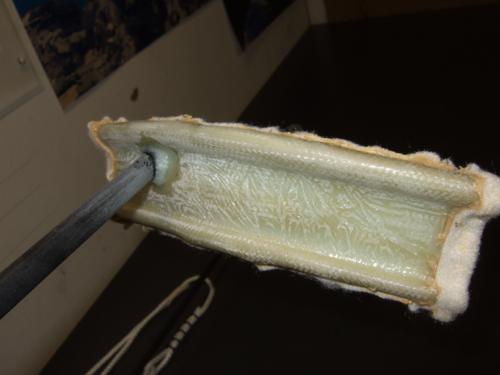
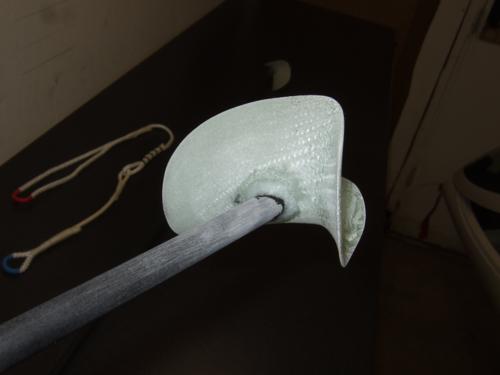
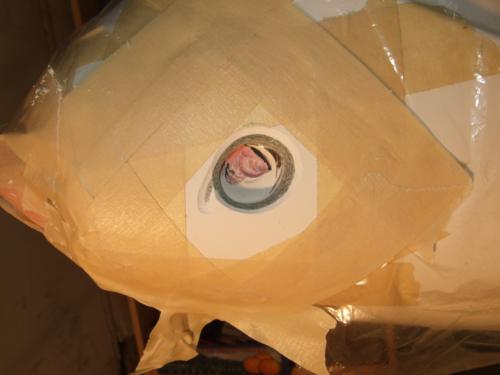 filler removed
DG is simply fills the hole in the side wall with filler and that's it (they are still doing this (Aug. 2010)). On every workshop supervisor training people get told that filler doesn't hold anything. Well - it's quick and cheap...
I wanted to get rid of these cracks for good. So I removed the filler completely using a Dremel tool. This is easy and gives a very clean result.
Conticell in place
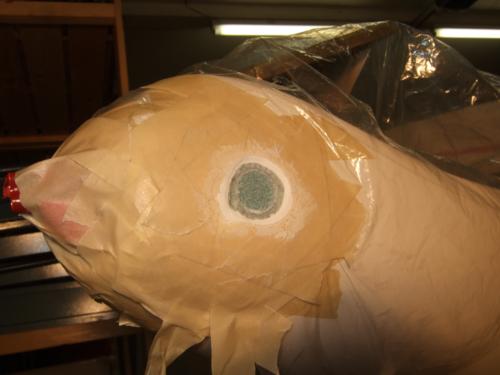
I shaped a piece of Conticell foam and glued it with dry Micro in place.
 squeezing fiber glass
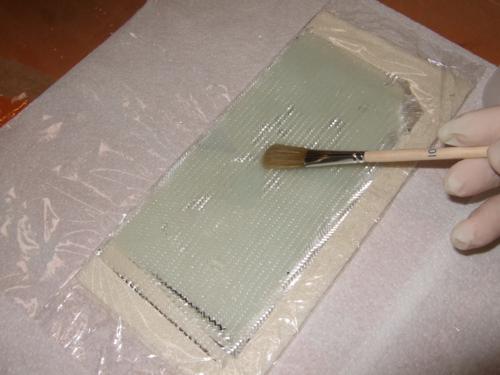
After shaping the Conticell I glassed it with two layers of Interglas 92125 and shaped this lay-up as well.
Gelcoat
The rest is pretty standard: Applying Gelcoat, applying signal paint and grinding the finish.
 signal paint
Canopy Holder
But now what this page is about: The canopy holder.
In order to prevent these cracks right from the beginning you have to prevent the canopy from shaking in the wind in the first place. I bought two fiber glass rots from TAP-Plastic. The idea is that a cross in the canopy/fuselage will holt the canopy. The missing parts are the adapters to the canopy and the fuselage. I laminated these directly on the plane, using it as a mold.
fiberglass
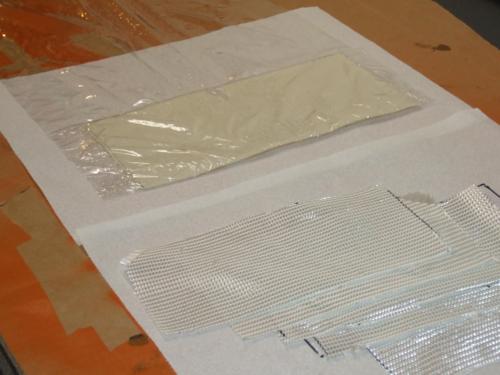
As for the canopy side it looked the easiest to me to laminate a pre-preg and to let it cure squeezed into the canopy.
 laminating
I packed the pre-preg into thin kitchen foil. Together with the glass I packed felt into the pack, but isolated it from the resin! The felt is needed in order to prevents scratches on the canopy frame. Of cause the felt has to be packed in a way that no resin is touching it! It will be glued onto the fiber glass part later on.
packing 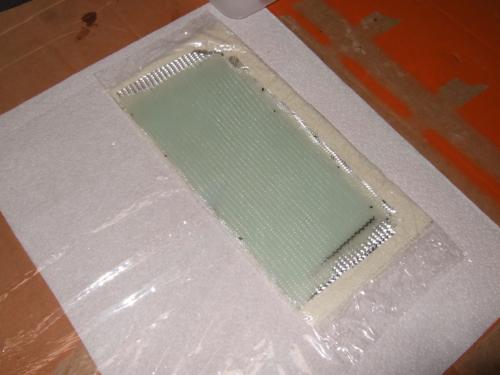
Using the pre-preg method enables you to keep everything clean while getting a perfect part. The Video shows this process.
I folded the ends of the foil that way, that no resin could leak out while squeezing the pre-preg in the canopy frame. In addition I applied foil to the canopy as well as the fuselage. This gave me piece of mind (it doesn't improve your day to glue the canopy to the fuselage ;-)
 pre-preg
What you definitely shouldn't forget is to cut out some felt in the corner. If you fail to do so you will end up with a part, which has a ugly wave in the middle (felt isn't as smooth as glass).
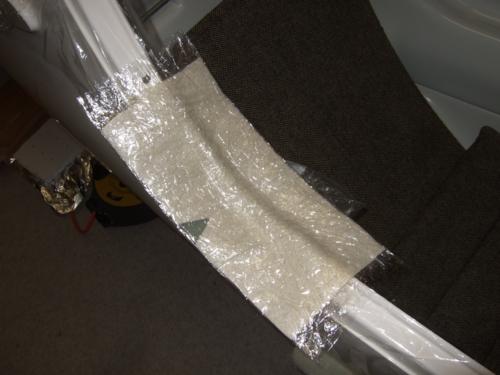
Canopy closed
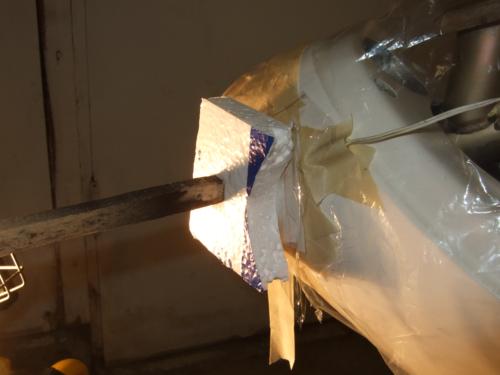
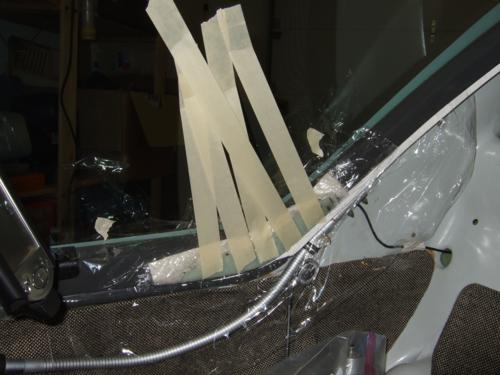
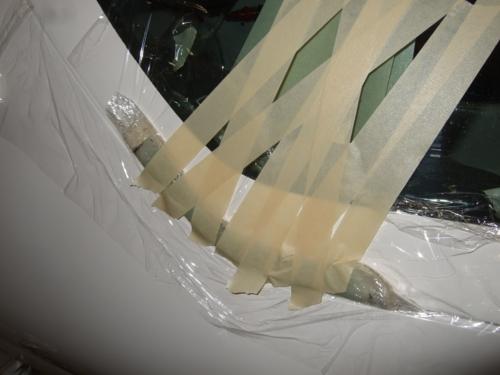
After the canopy is closed, time is running! The pre-preg sites have to be lifted and squeezed against the plane. I did this in two steps: 1. taping; 2. squeezing.
 cockpit side
The most important thing of all is, to work very clean and to have absolutely NO resin on the tape! A canopy which is messed up with resin is very hard to get back in good shape - I doubt that it is possible at all!
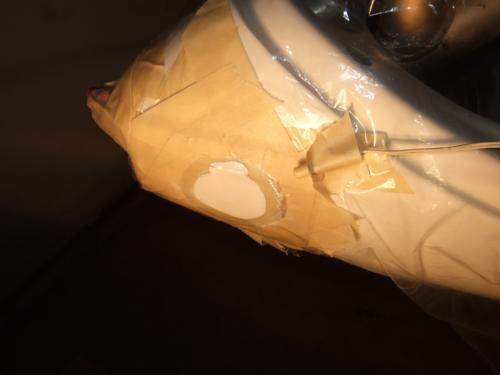
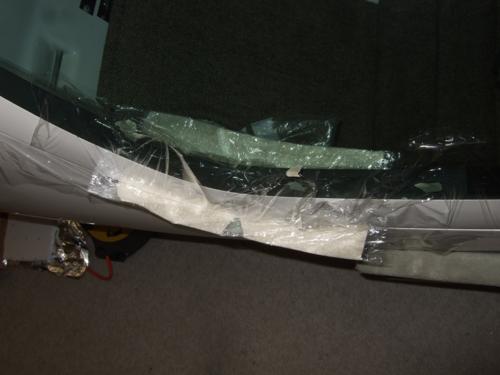
outside
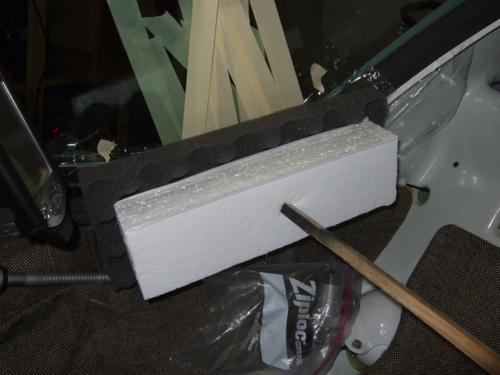
The squeezing job is done by a piece of foam rubber. Styrofoam and wood are holding everything at the right position.
 squeezing inside
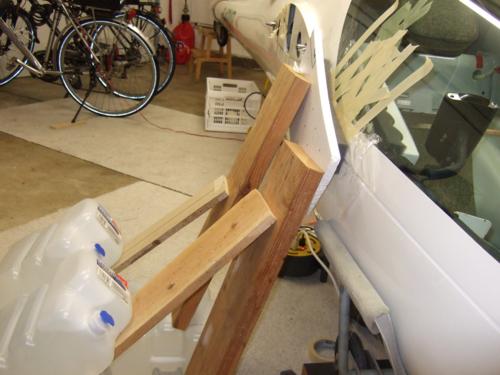
On the outside the styrofoam plate is hold in the place by wood which leans against the fuselage.
squeezing outside
I have build the right and the left hand part in separate sessions. A skilled builder might be able to do this in a single session. Since I hate to be rushed by the pot life I decided to invest two separate mornings.
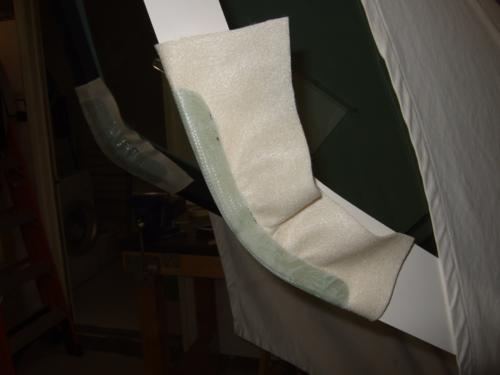 felt
felt
Of cause the most enjoyable part is always to take the part out of the mold and to shape it to it's final shape. Making a nicely shaped part out of a fiber glass hedgehog is somehow a very satisfying award for the work which had to be done before :-)
wall base adhesive
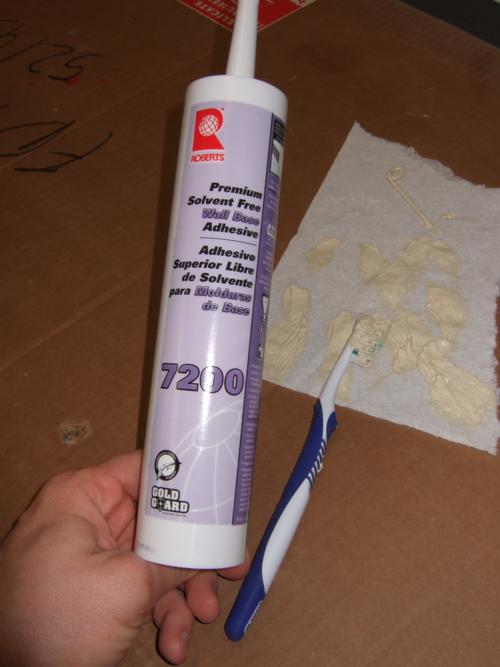
Gluing the felt to the fiber glass part works very well with wall base adhesive from the HomeDepot. While doing our kitchen I got to experience that this glues basically everything - including shoes, socks and skin ;-)
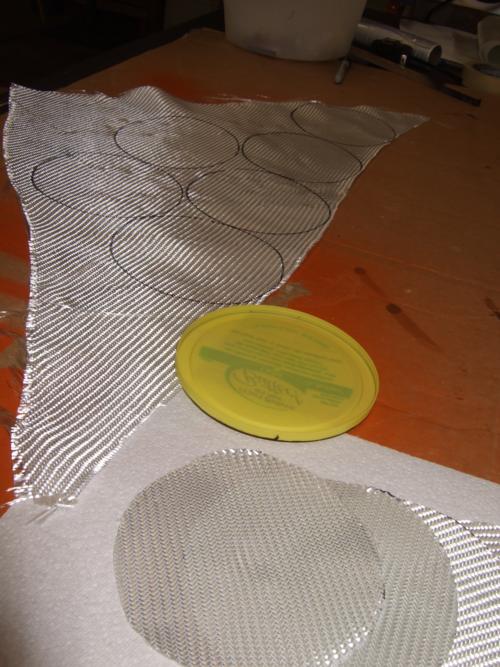 glass circles
After the canopy side was done I have cut the glass for the fuselage side. Again I used kitchen foil to keep the parts separated. And again it is very important that the foil is completely intact (otherwise you glue your part onto your plain).
layup
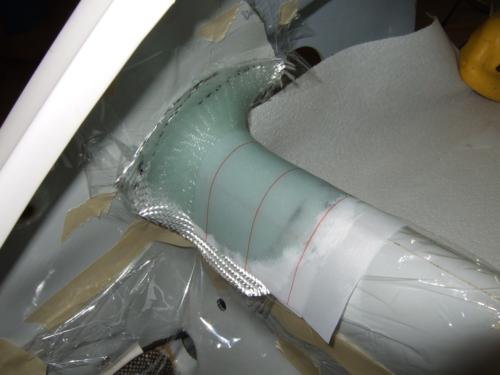
Since the desired shape didn't allow a pre-preg I had to lay-up the layers directly on the fuselage.
 squeezing
Again foam rubber was used to squeeze the lay-up against the fuselage. You might be able to use vacuum technique, but I belief that this isn't worth the effort. I hot wired the Styrofoam plate to a shape, that simply pushed it down and that's it.
shaped
Now again the best part: Taking it out of the mold and shaping it :-)
 canopy side
Now I floxed the fiber glass roots to the adapters. In the first place I planed to reinforce them with fiber glass as well, but after I saw how strong the Flox alone was I decided to leave it this way.
fuselage side
The canopy holder was almost finished. The last missing piece was a nylon rope with a 6 mm rubber band in the middle which pulls the canopy down.
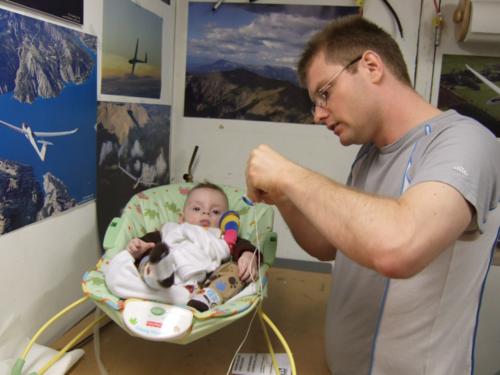 David
David
David (4 months) was watching me. He likes the colorful workshop pictures :-)
ready for service
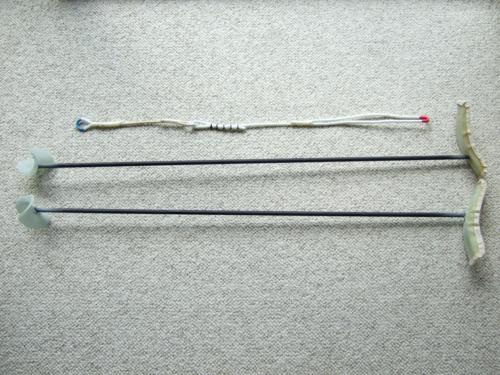
The complete holder can be seen in the picture above. The video shows how to use it: Open the canopy and put the holders and rope in place. Now the wind can blow and my canopy will not vibrate like crazy anymore.
Video Demo (12 MB) 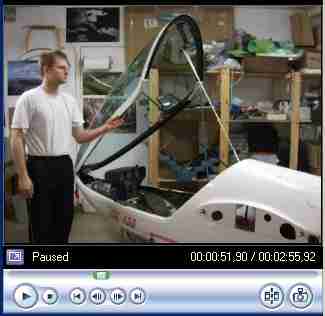 Demo Video (12 MB)
I have now one Hollister season with the canopy holder behind me and do not want to miss it any more.
Impressum, Disclaimer & Datenschutz
![]()
 Video
(5 MB)
Video
(5 MB)